Learn how to properly install Home Assistant on Synology and get all the features, including add-ons, updates, and the supervisor. This entire process will take about an hour to complete.
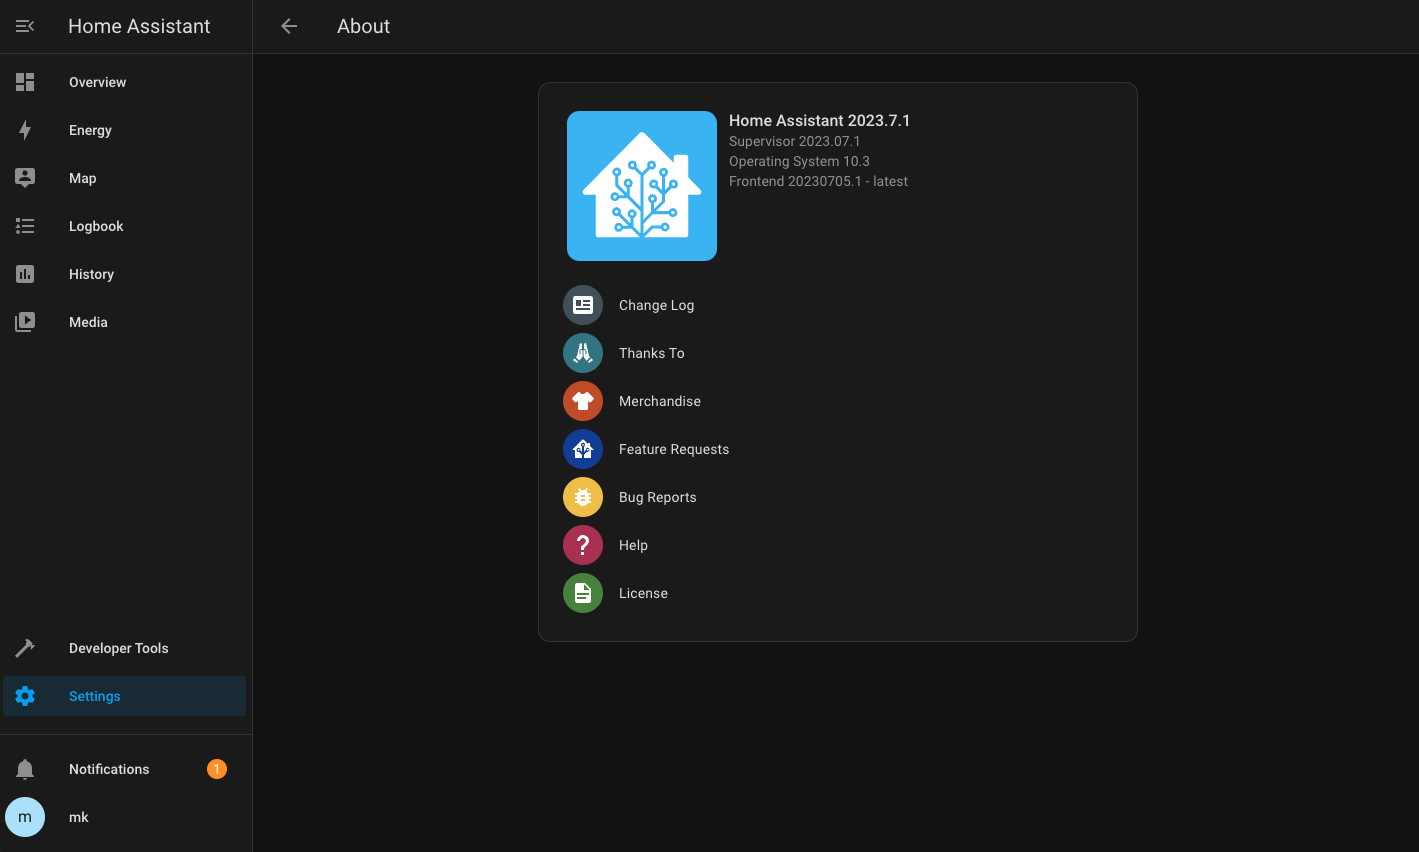
I’m using a Synology DS1821+ and DSM 7.2.x. This guide will work and can be followed along on any Synology unit running DSM 7.2 or higher. Home Assistant is installed using version 2023.07.x and Virtual Machine Operating System 10.3.
Table of Contents
Virtual Machine vs Docker
What are the differences between installing Home Assistant on Virtual Machine Manager versus Docker in Synology?
The Home Assistant Docker container does not include support for add-ons, automated updates, or the Supervisor. However, this can be mitigated by setting up Watchtower to manage updates, and additional containers for their add-on equivalents.
In terms of simplicity, a virtual machine is going to be simpler and a little less to manage. Instead of running multiple containers through Docker and linking them you can install Add-ons and have everything automatically setup and connected inside of the VM. The resource usage seems to be about the same based on reading other accounts across different home automation communities.
The Supervisor automates a lot of things you’d normally have to setup manually utilizing a Docker container.
I’ve run Home Assistant in both Docker and Virtual Machine now. The VM is certainly a great way to keep things simple and make setup a little easier for the many devices. In reading about people’s experiences in setting up Home Assistant, using a Virtual Machine to run it as an Operating System offers a simpler solution with less hiccups if you’re more of a beginner in the Docker/VM world.
Another added benefit of utilizing a Virtual Machine is setting up a device like Google Coral for facial recognition in an app like Frigate is way easier. At least from what I’ve read – I’ve yet to put something like this into action.
Installing Virtual Machine Manager
Load up your Synology DSM, Open up the Package Center and find the Virtual Machine Manager.
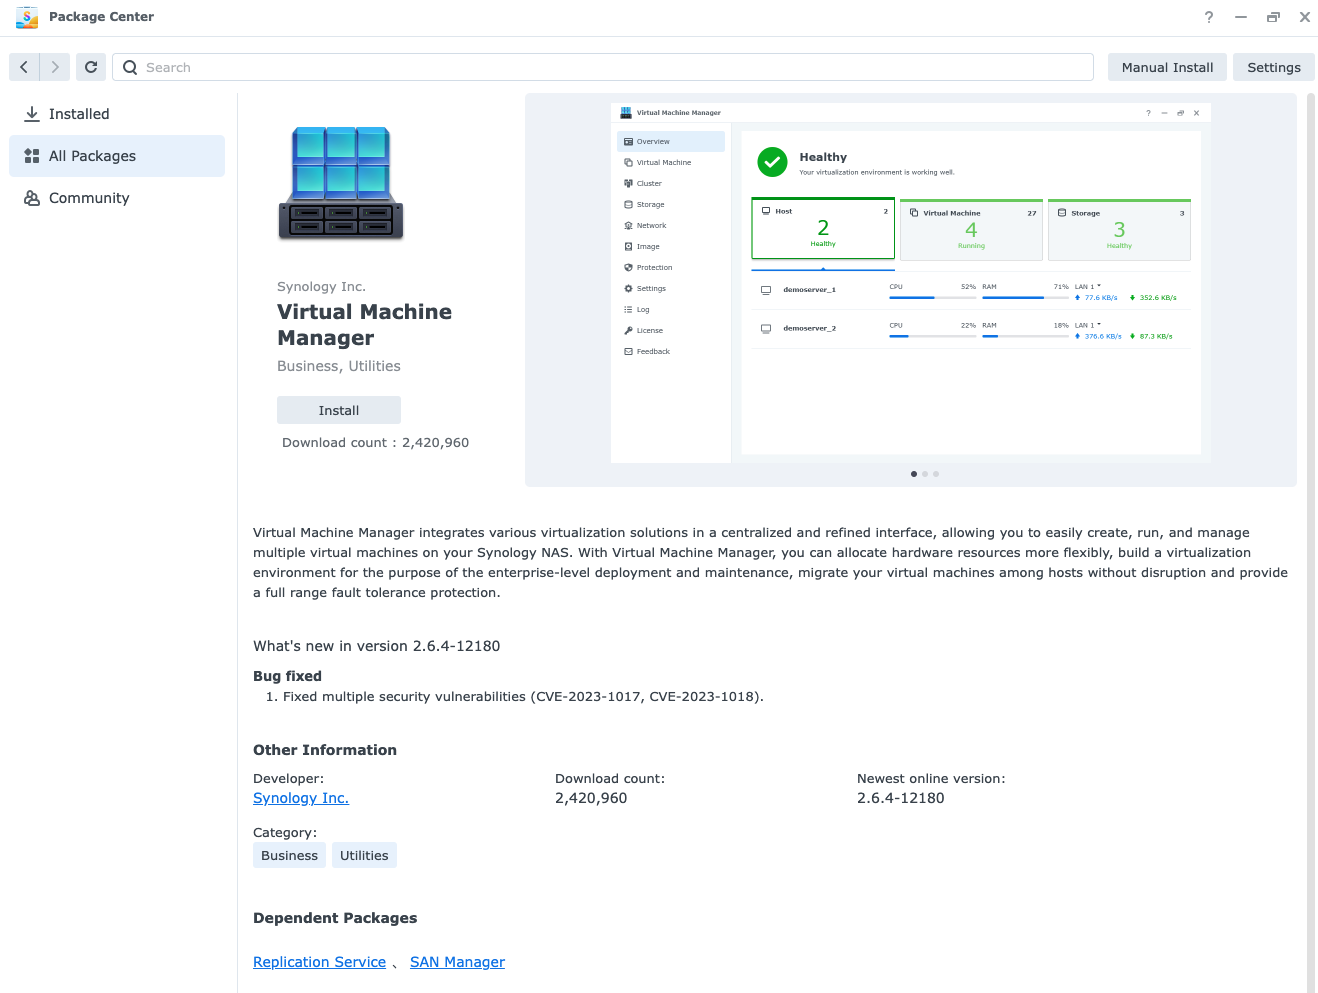
I wanted this to install onto my NVMe drives in the m.2 slot, so I verified settings on the Package Manager. Where the Virtual Machine Container gets installed can also be customized later. I wanted both on NVME drivers for optimum speed. I haven’t tested to see how much of a difference it makes, though.
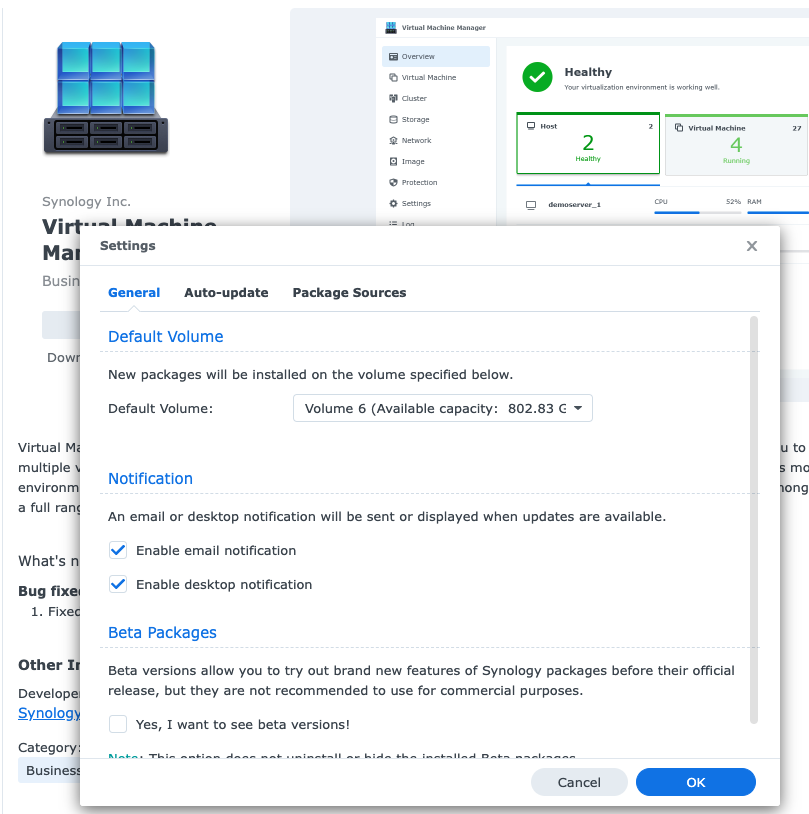
Click the Install button and the Virtual Machine Manager will begin download and installing onto your Synology.
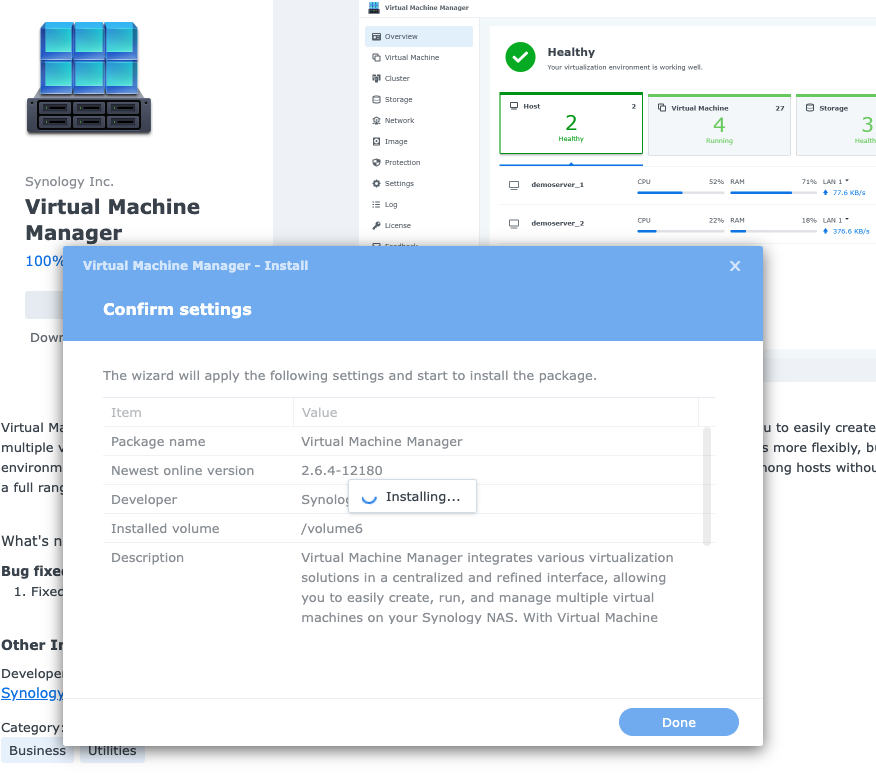
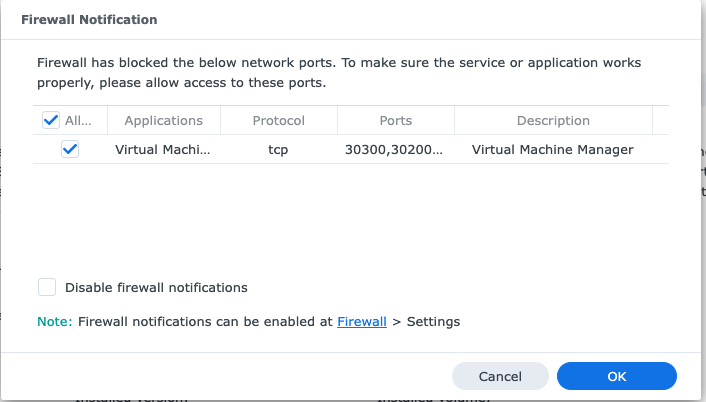
When VMM finished, you’ll get an option to adjust Firewall settings. I just accept them and hit ok.
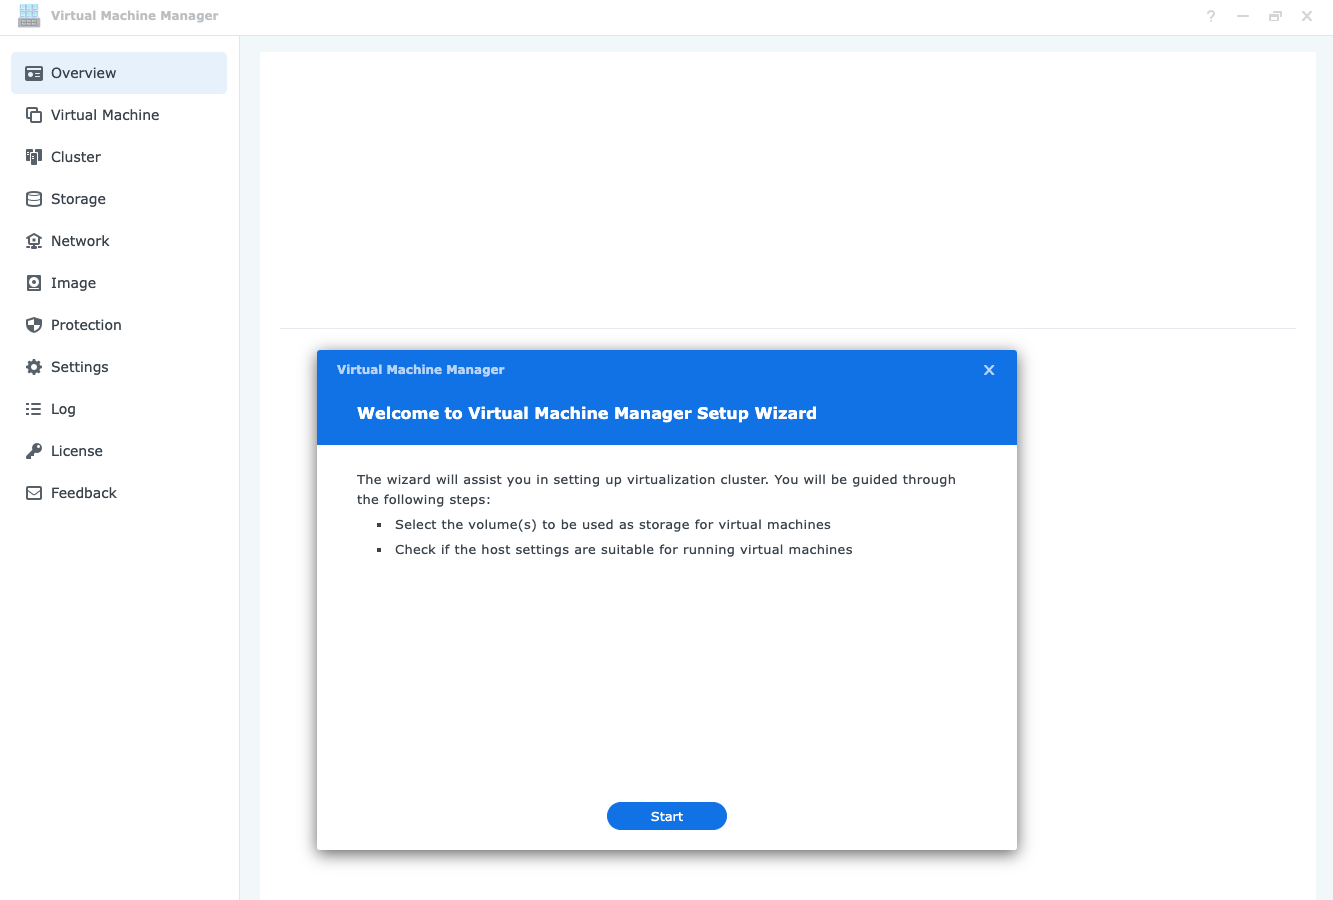
Open Virtual Machine Manager and begin the setup.
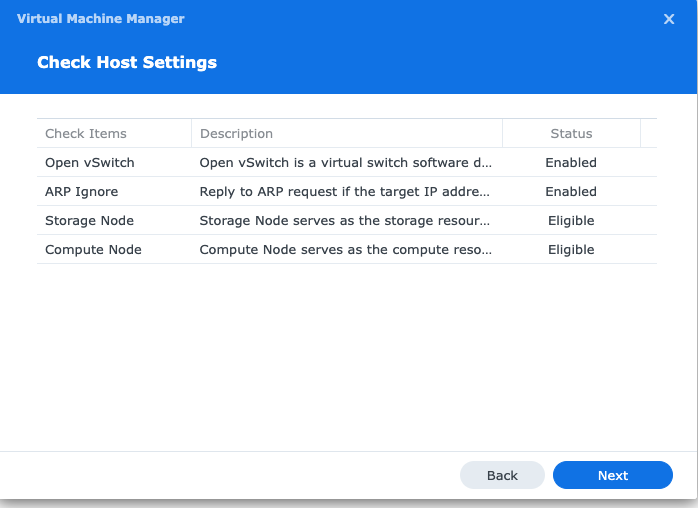
Leave the Check Host Settings as the default and click next:
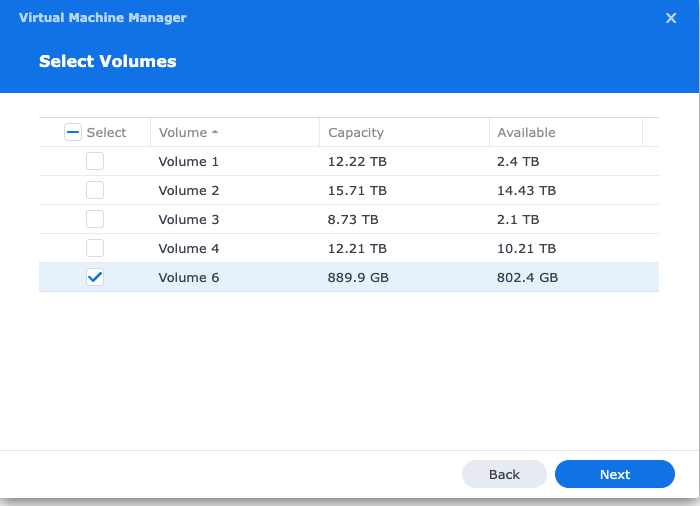
Select the volume where you want the Virtual Machine Manager to store Containers. I selected my m.2 NVME Storage Pool.
Hit next and then you are all set!
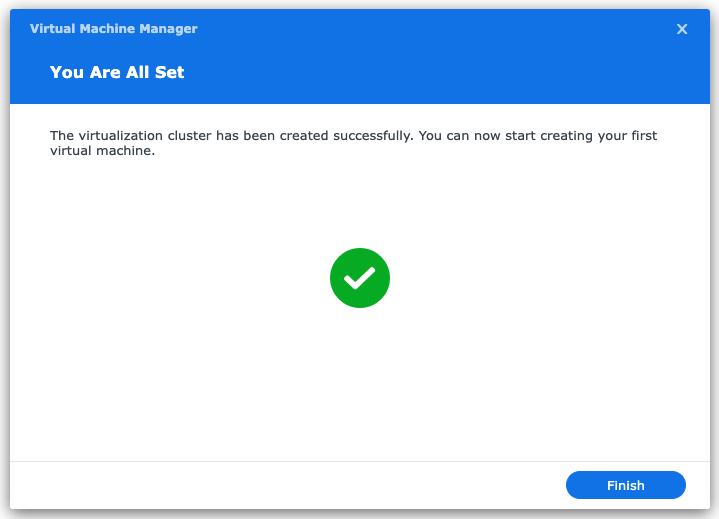
From here, you should see a screen that looks something like this, confirming you are ready for the actual installation of Home Assistant.
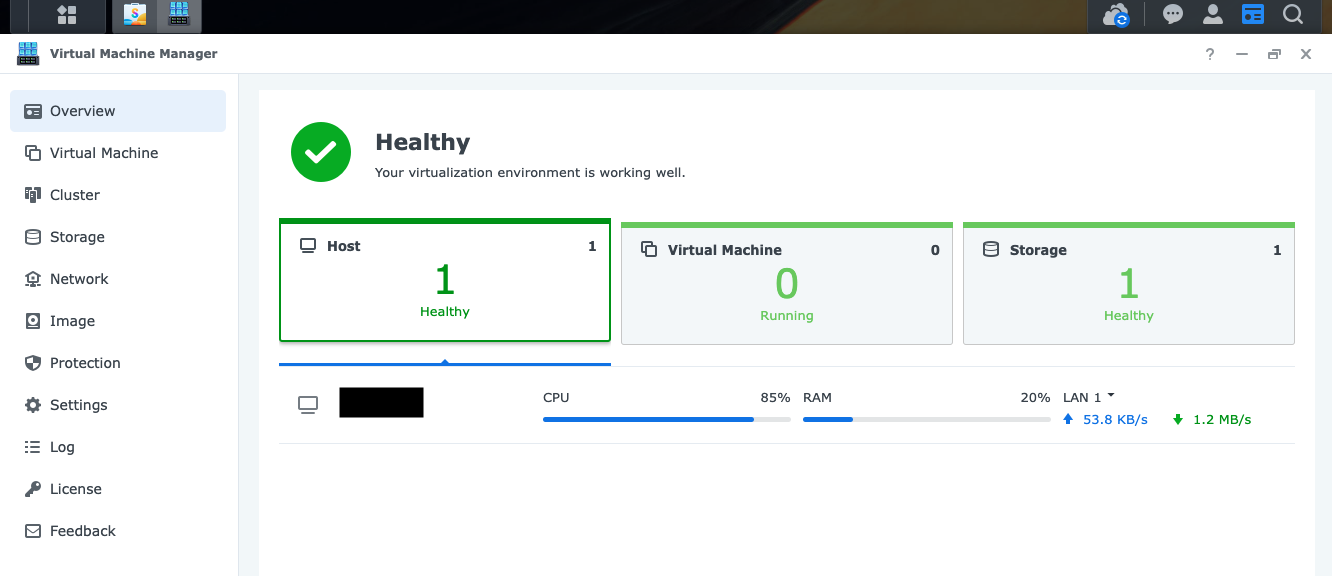
Installing Home Assistant
Navigate to the Home Assistant website for Installation methods: https://www.home-assistant.io/installation
Scroll to Alternative and select that option.
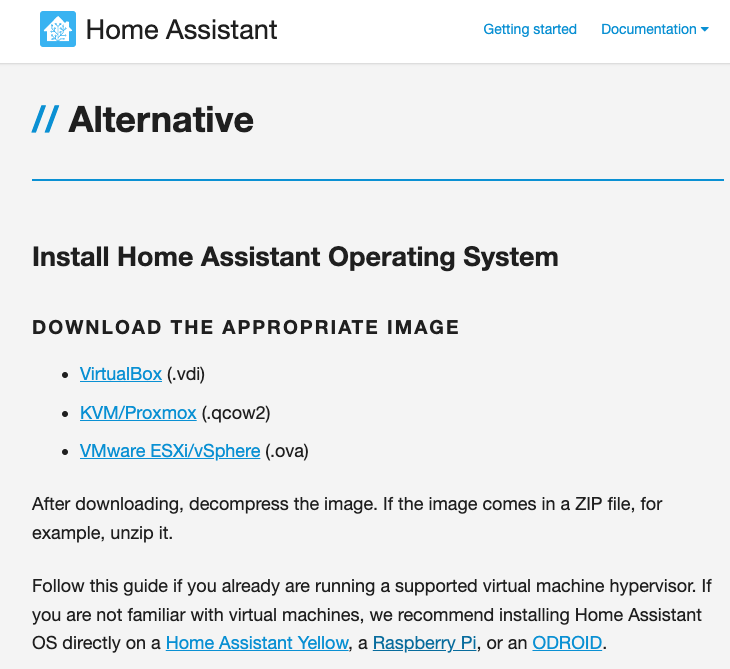
Click on VMware ESXi/vSphere and download the latest .ova – it is not linked directly here to ensure you are getting the latest version.
It’ll look something like this:

Go back to the Virtual Machine Manager, click on the Virtual Machine tab, select the Create Dropdown, the click on Import.
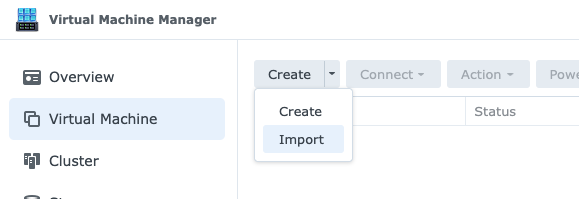
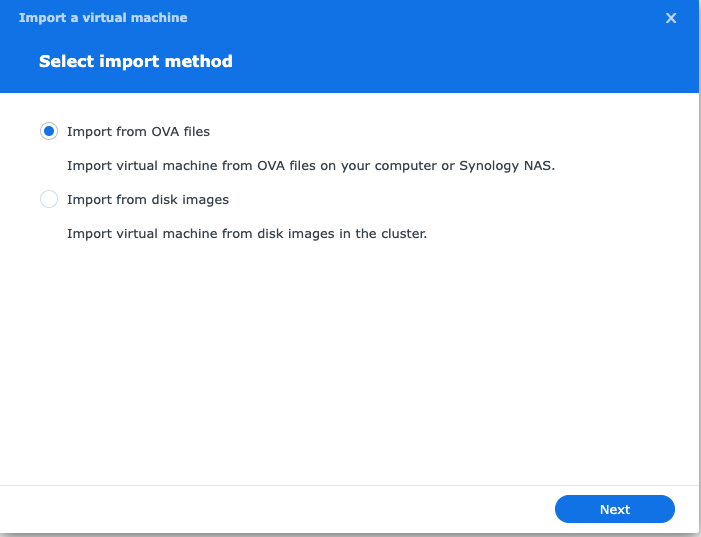
On the Import dialogue box, select Import from OVA files and click next.
Upload a file from PC and navigate to the OVA file you just downloaded. Click next.
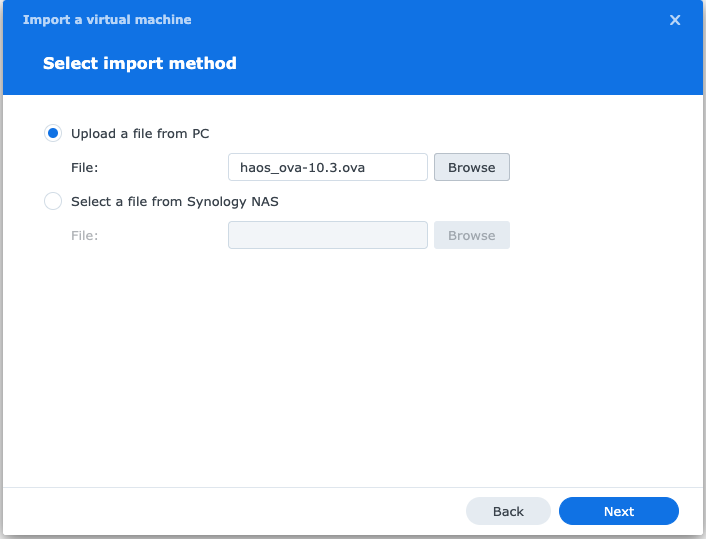
The upload process will go pretty quickly and look something like this:

Select the Storage for your uploaded Virtual Machine. It should be whatever Volume you selected earlier. More than one volume will display if you selected multiple. I just have one, the NVME.
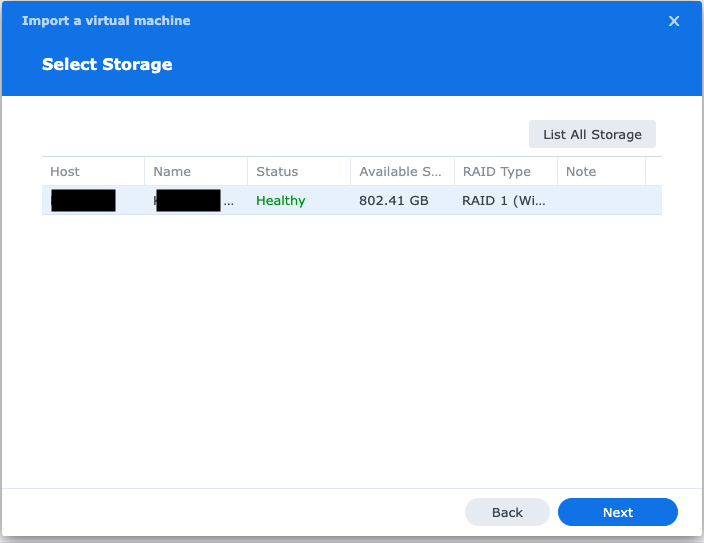
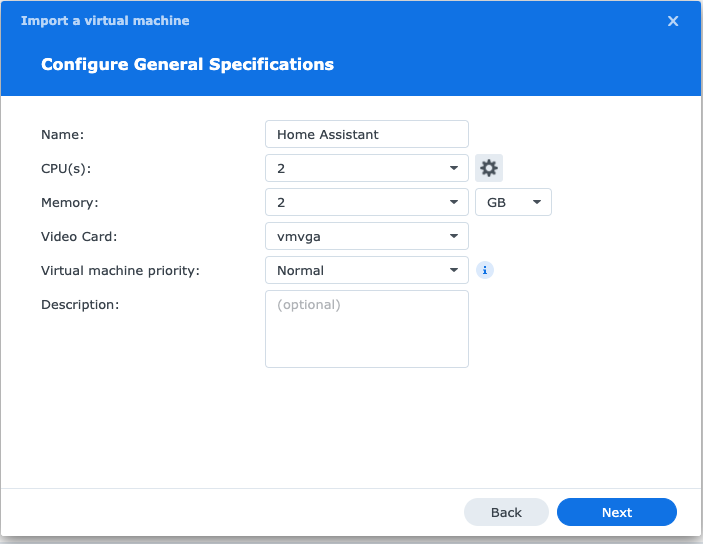
Hit next and go on to Configure General Specifications. These are my values. You might want to adjust. So far I’ve found this to be sufficient.
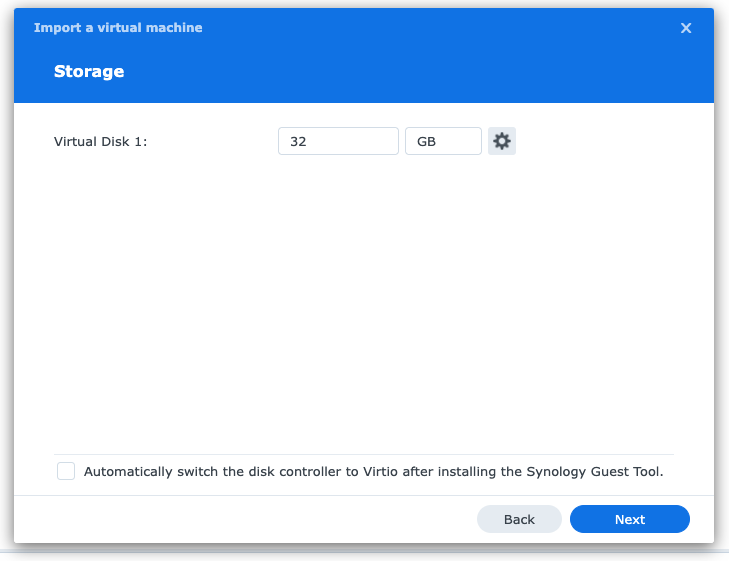
Now you’ll allocate Storage. 32GB is more than enough for many use cases. I think my old install used 3GB at one point.
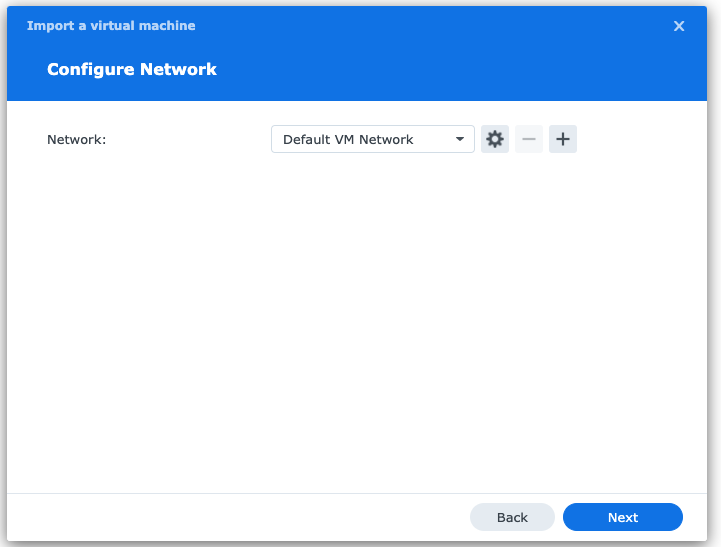
On the next screen, leave Configure Network set to Default VM Network.
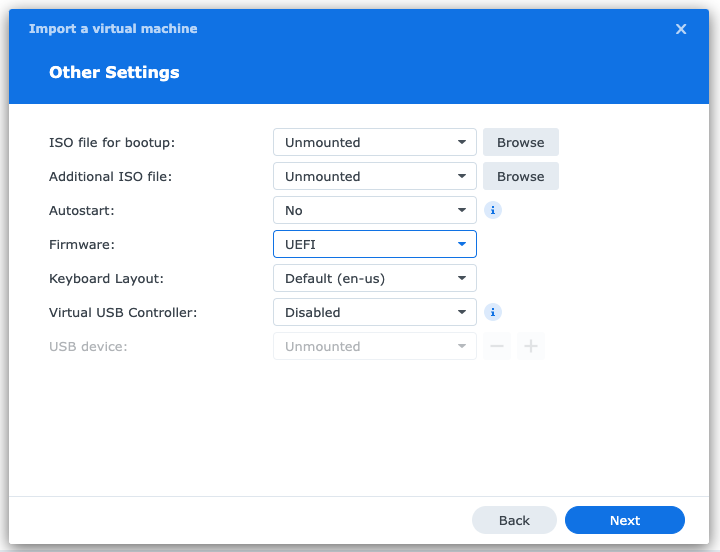
The next screen for Other Settings has a setting you MUST change. Set the Firmware to UEFI. Everything else can be left to the default setting.
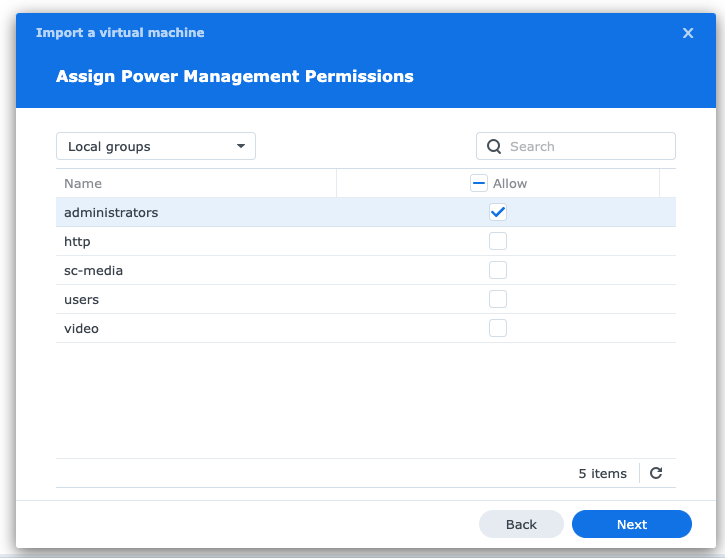
Now you’ll assign permissions to the Virtual Machine. Select Local Groups from the dropdown and check administrators to allow.
That’s the last setting! Review the Summary and make sure everything looks good. If not, or you realize after finishing you need to change something, all you need to do is shut down the machine and adjust settings then boot it back up. Check the box to Power on the machine when you’re ready and click done.
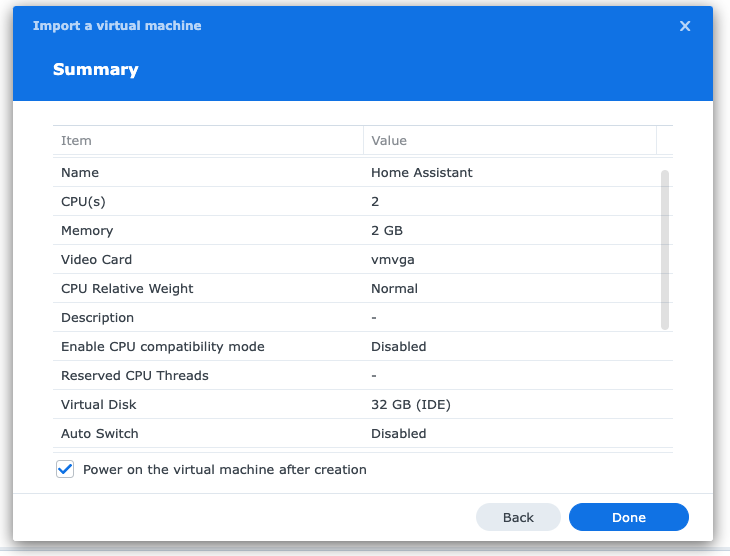
The VM will begin importing. It takes a little less than 3 minutes.

It will import to 100%, power off, then preparing, then Powering on.
From here, navigate to Home Assistant on your local network. In this case for me its http://10.0.0.12:8123/
You’ll have to find your own IP, listed in the Virtual Machine Manager under Virtual Machine, General, then add the port :8123.
For the next 20 minutes, or so the screen says – it took my unit about 6 minutes, Home Assistant will download the latest updates and complete the setup.

The screen will move on automatically when the process has completed. You don’t need to do anything further within your Synology or the Virtual Machine Manager at this point and can close out of that. The rest of your attention will be with Home Assistant.
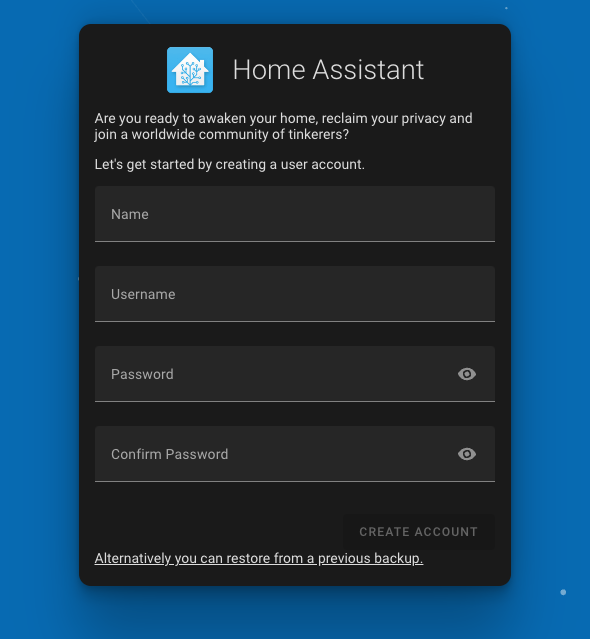
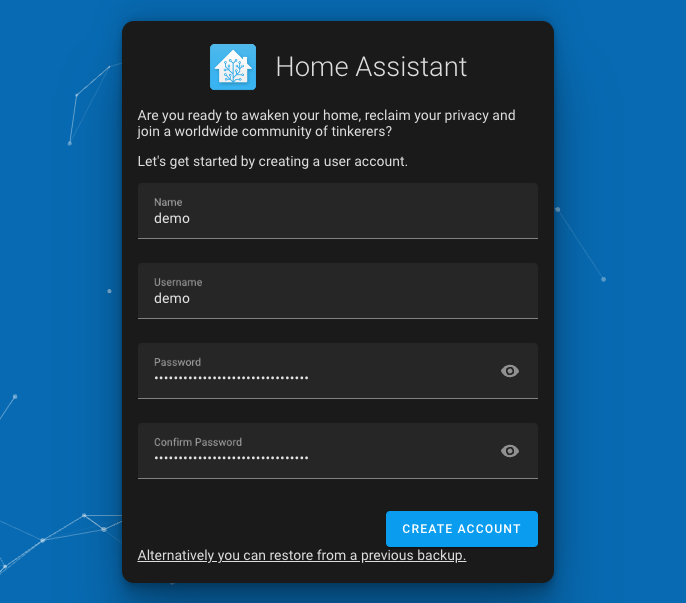
Enter in your info and click on Create Account. If you have a backup, now is the time to restore that, but for this guide, I’m covering a complete install from scratch. Enter in your username and password and Create Account.
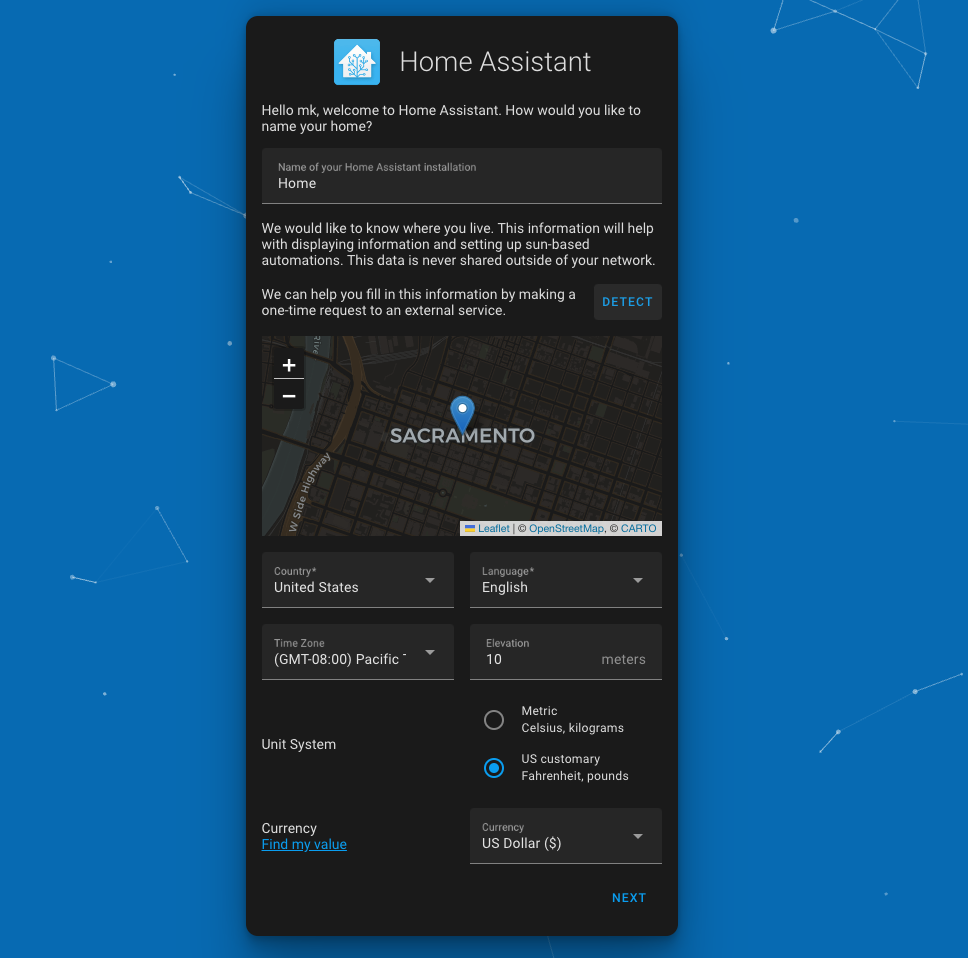
Enter in your location info. Future integrations and automations will pull from this information.
I personally chose to share my info with Home Assistant – you don’t have to and it makes no impact on your user experience.
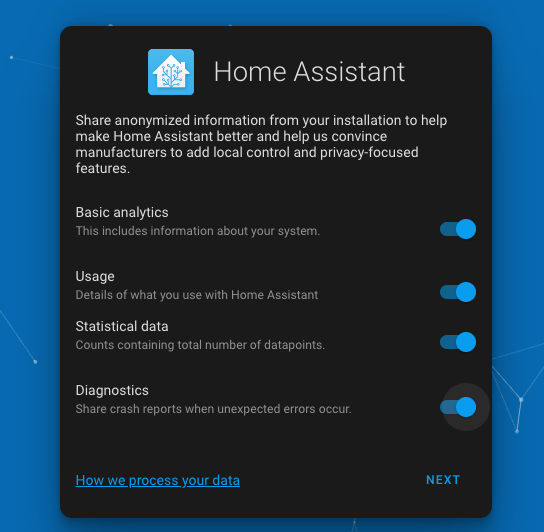
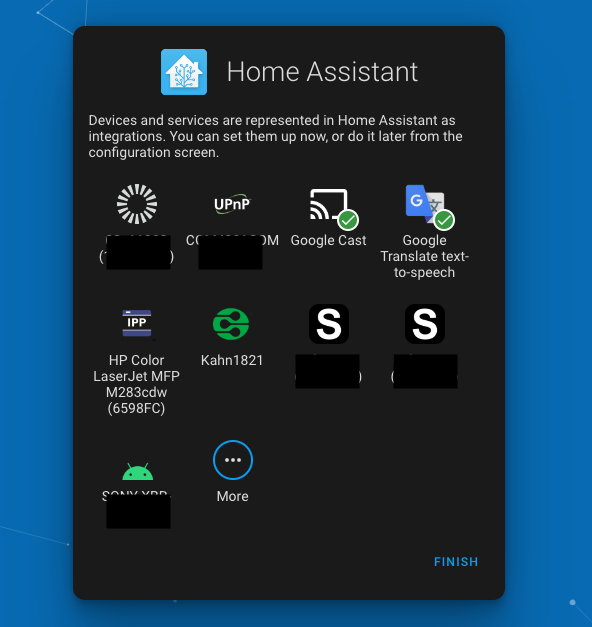
At this next screen, you’ll see a bunch of devices Home Assistant has already begun detecting. Hit Finish for now – those can be completed later from Integrations.
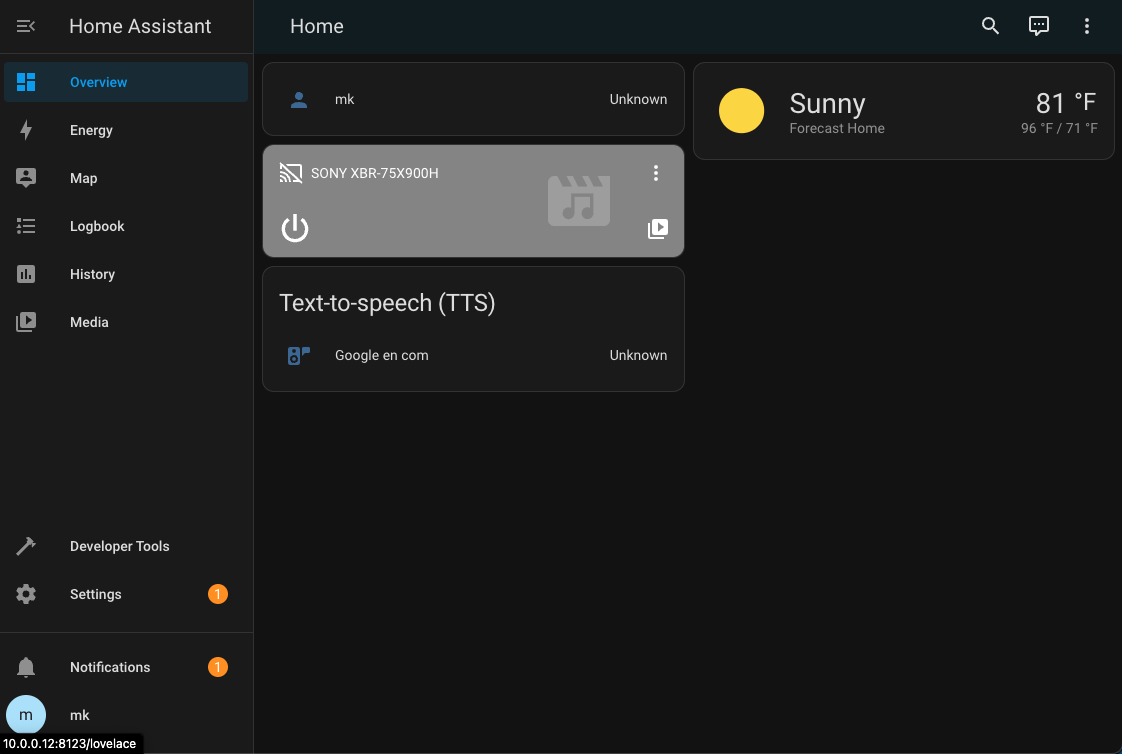
You’re ready to go and Home Assistant is installed! This should be your default screen before doing any further configurations:
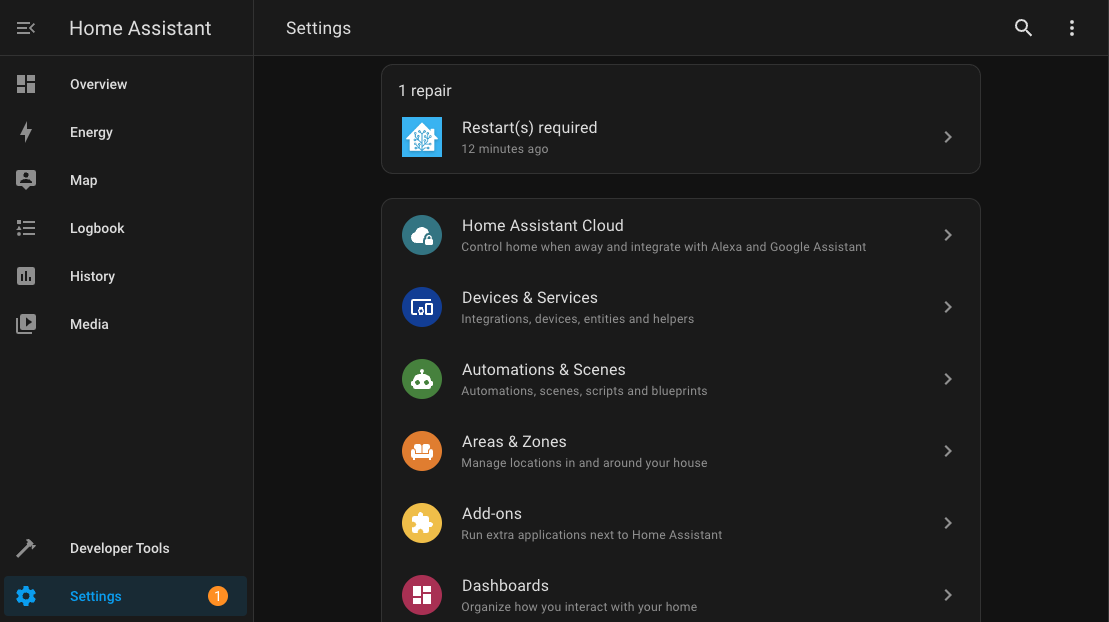
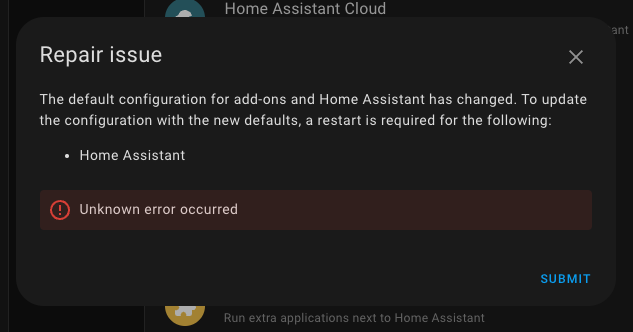
I’ve gone through this method several times now, and each time I’ve gotten a setting notification to repair and restart Home Assistant. Go to Settings and click the repair option to do restart. It has to do with loading defaults and is not bad.
Home Assistant will restart itself and come back online in about a minute. You might see an error like this, but you can safely ignore it:
Congratulations on completing the Home Assistant installation on a Synology Virtual Machine.
Updates
July 30 2023: A bit more detailed information on different steps.
July 13 2023: Edited text for better clarity throughout guide.
- About the Author
- Latest Posts
I strive to paint vivid landscapes with my words, bringing the magic of far-off lands and enchanting aromas to life for my readers. Combine passion for exploration and the art of gastronomy in an unending ode to the senses. When I’m not traversing the globe, I find solace in the earth beneath my fingertips, tending to my garden and working on projects around my verdant oasis. MK Library serves as a beacon, guiding fellow travelers and homebodies alike to embrace sustainability, nurturing both our planet and our souls with purpose. Full Bio.

