Read on to discover how to grow roses from seeds!
Although not the easiest method, growing roses from seeds is arguably more rewarding when they begin to sprout. Growing roses isn’t nearly as complicated as growing vegetables from seeds, but a little bit of patience is required nonetheless. If you are up for the challenge, follow the advice below and happy planting!
If planting roses from seeds is not for you, try planting bare-root rose plants instead.

Table of Contents
Preparing the Seeds
To start, you will need to procure the seeds, cultivating tools, and rose food. You will also need to select a sunny location to plant your rose seeds.
What you’ll need:
- Fresh rose hips
- Seed-starting soil mix
- Loam soil
- Seedling trays or planting trays
- Rose fertilizer
- Spoon (for transferring seedlings)
- Small pots (for transferring seedlings into)
- Grow lights (optional)
- Fungicide (optional)

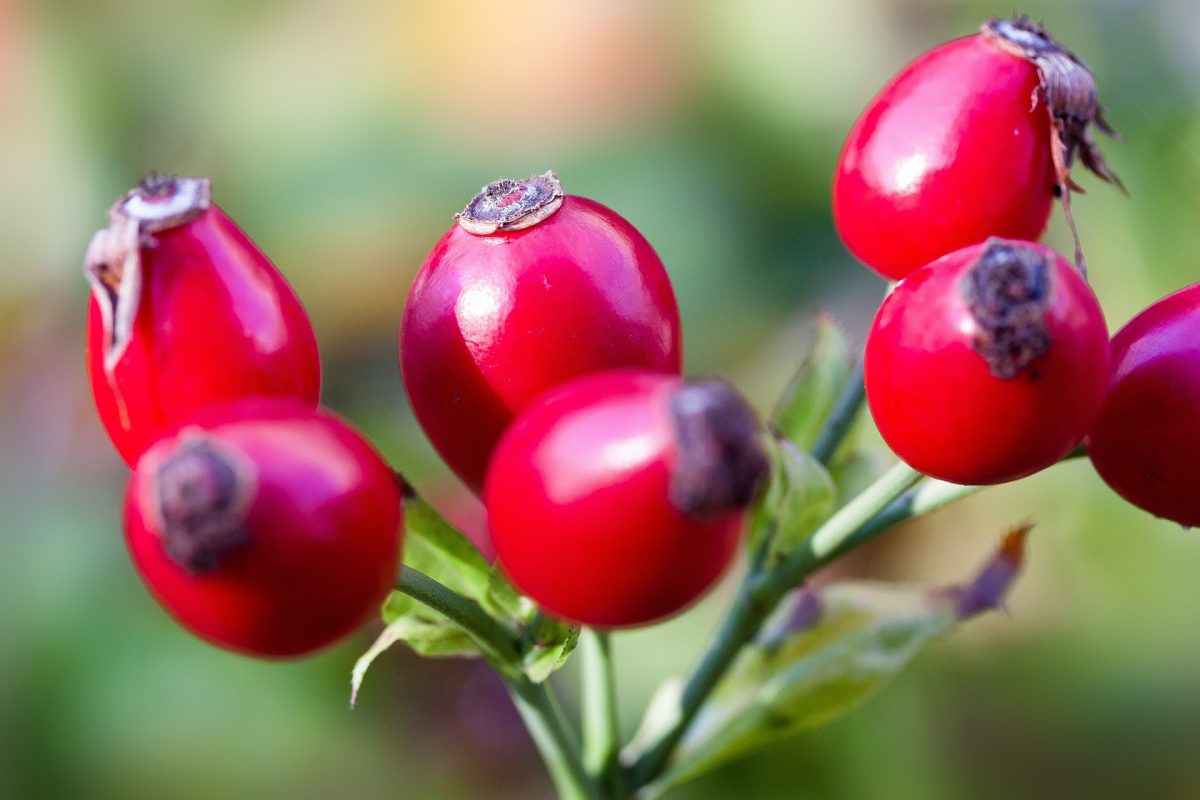
- Begin searching for rose hips after the roses’ blooms have fallen, after about 4 months of maturing on a rose bush. Their color can range from orange to green to red to a very dark purple in some species. Use caution when collecting these, however, as the small hairs on rose hips can cause itching. If you’ve gathered the rose hips and are not ready to start the planting process, you can store them in the refrigerator for several weeks before opening.
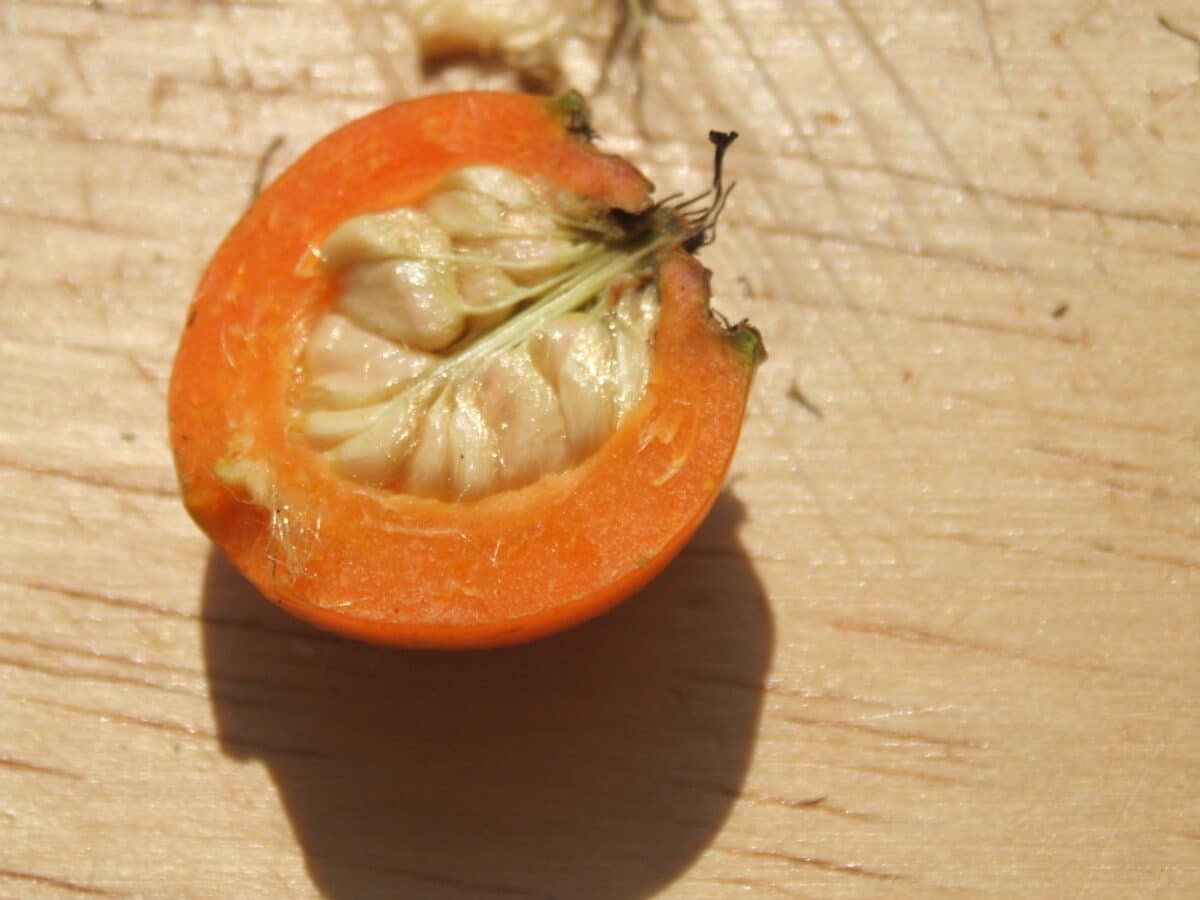
- Split the rose hips with a butter knife to gather the creamy white seeds that are densely packed inside. Wash the seeds in water containing a few drops of bleach to kill any fungus or bacteria. Rinse the seeds in tap water once again and finally place them on a clean towel to dry. If you really want to make sure your seeds are free of disease, you can soak the seeds in a solution of half water and half hydrogen peroxide for 12 hours before beginning the next step.
- Before they are planted, you must first encourage the seeds to sprout by placing them in a cold and moist area for 2.5 to 3 months. This period of cold storage is called “stratification,” which mimics the cold conditions seeds naturally encounter outdoors before they sprout.
- To initiate the stratification process, wrap the seeds in a heavyweight paper towel and moisten the towel with a solution of half water and half hydrogen peroxide (to prevent mold). Seal the moist towel in a plastic ziplock bag and store it in the refrigerator for 10-12 weeks. You should check them regularly for emerging root tips, and continue to take note of any changes occurring every now and then. If you are planting different varieties, make sure to separate and label the seeds. DO NOT freeze the seeds, and DO NOT let them dry out.
- An alternative way of stratifying the seeds is simply planting them directly into a tray of potting soil. Place the rose seeds about one-half inch deep in a mixture of half potting soil and half vermiculite. Either a shallow tray or small pots will work for this, as long as it has good drainage. Once planted, moisten the soil and seal the tray or pots in a plastic bag. Then place these in a refrigerator for 10-12 weeks.
- Keep checking in on your seeds to make sure they are sufficiently moist and watch for the emergence of roots. The presence of sprouting root tips on the seeds signals that the seed can now be transferred to any black plastic container filled with loam soil. If the seeds are stuck to the paper towel, just dampen the towel wherever they are attached and they will easily fall off. Be careful not to touch the roots when you are transferring them. Scooping them up with a spoon can be helpful in this process. It is normal if only slightly more than a quarter of your seeds actually sprout.
Planting the Seeds

Let them grow in a warm area where they are exposed to plenty of sunlight and feed them with half-strength fertilizer or rose food. Make sure they have proper drainage, air circulation, and make sure not to overwater the seedlings. You’ll get the best results if you time the planting for early spring, when the seedlings would normally be beginning to sprout.
Once they have sprouted a few leaves or are a few inches tall, plant them in your garden or in individual pots and continue to keep an eye on them. Applying a small amount of fungicide on the growing seedlings will help protect the young plants from fungal disease. If evidence of disease does show up, it is safest to remove the diseased plants and keep the healthy rose seedlings.
It takes about three years or more for a rose seedling to develop into a mature rose bush. Growing roses from seeds does take time, but with enough patience and perseverance, you will be rewarded with the knowledge that you raised your own beautiful roses from seed to plant.
- About the Author
- Latest Posts
I strive to paint vivid landscapes with my words, bringing the magic of far-off lands and enchanting aromas to life for my readers. Combine passion for exploration and the art of gastronomy in an unending ode to the senses. When I’m not traversing the globe, I find solace in the earth beneath my fingertips, tending to my garden and working on projects around my verdant oasis. MK Library serves as a beacon, guiding fellow travelers and homebodies alike to embrace sustainability, nurturing both our planet and our souls with purpose. Full Bio.


1 thought on “How to Grow Roses From Seeds”