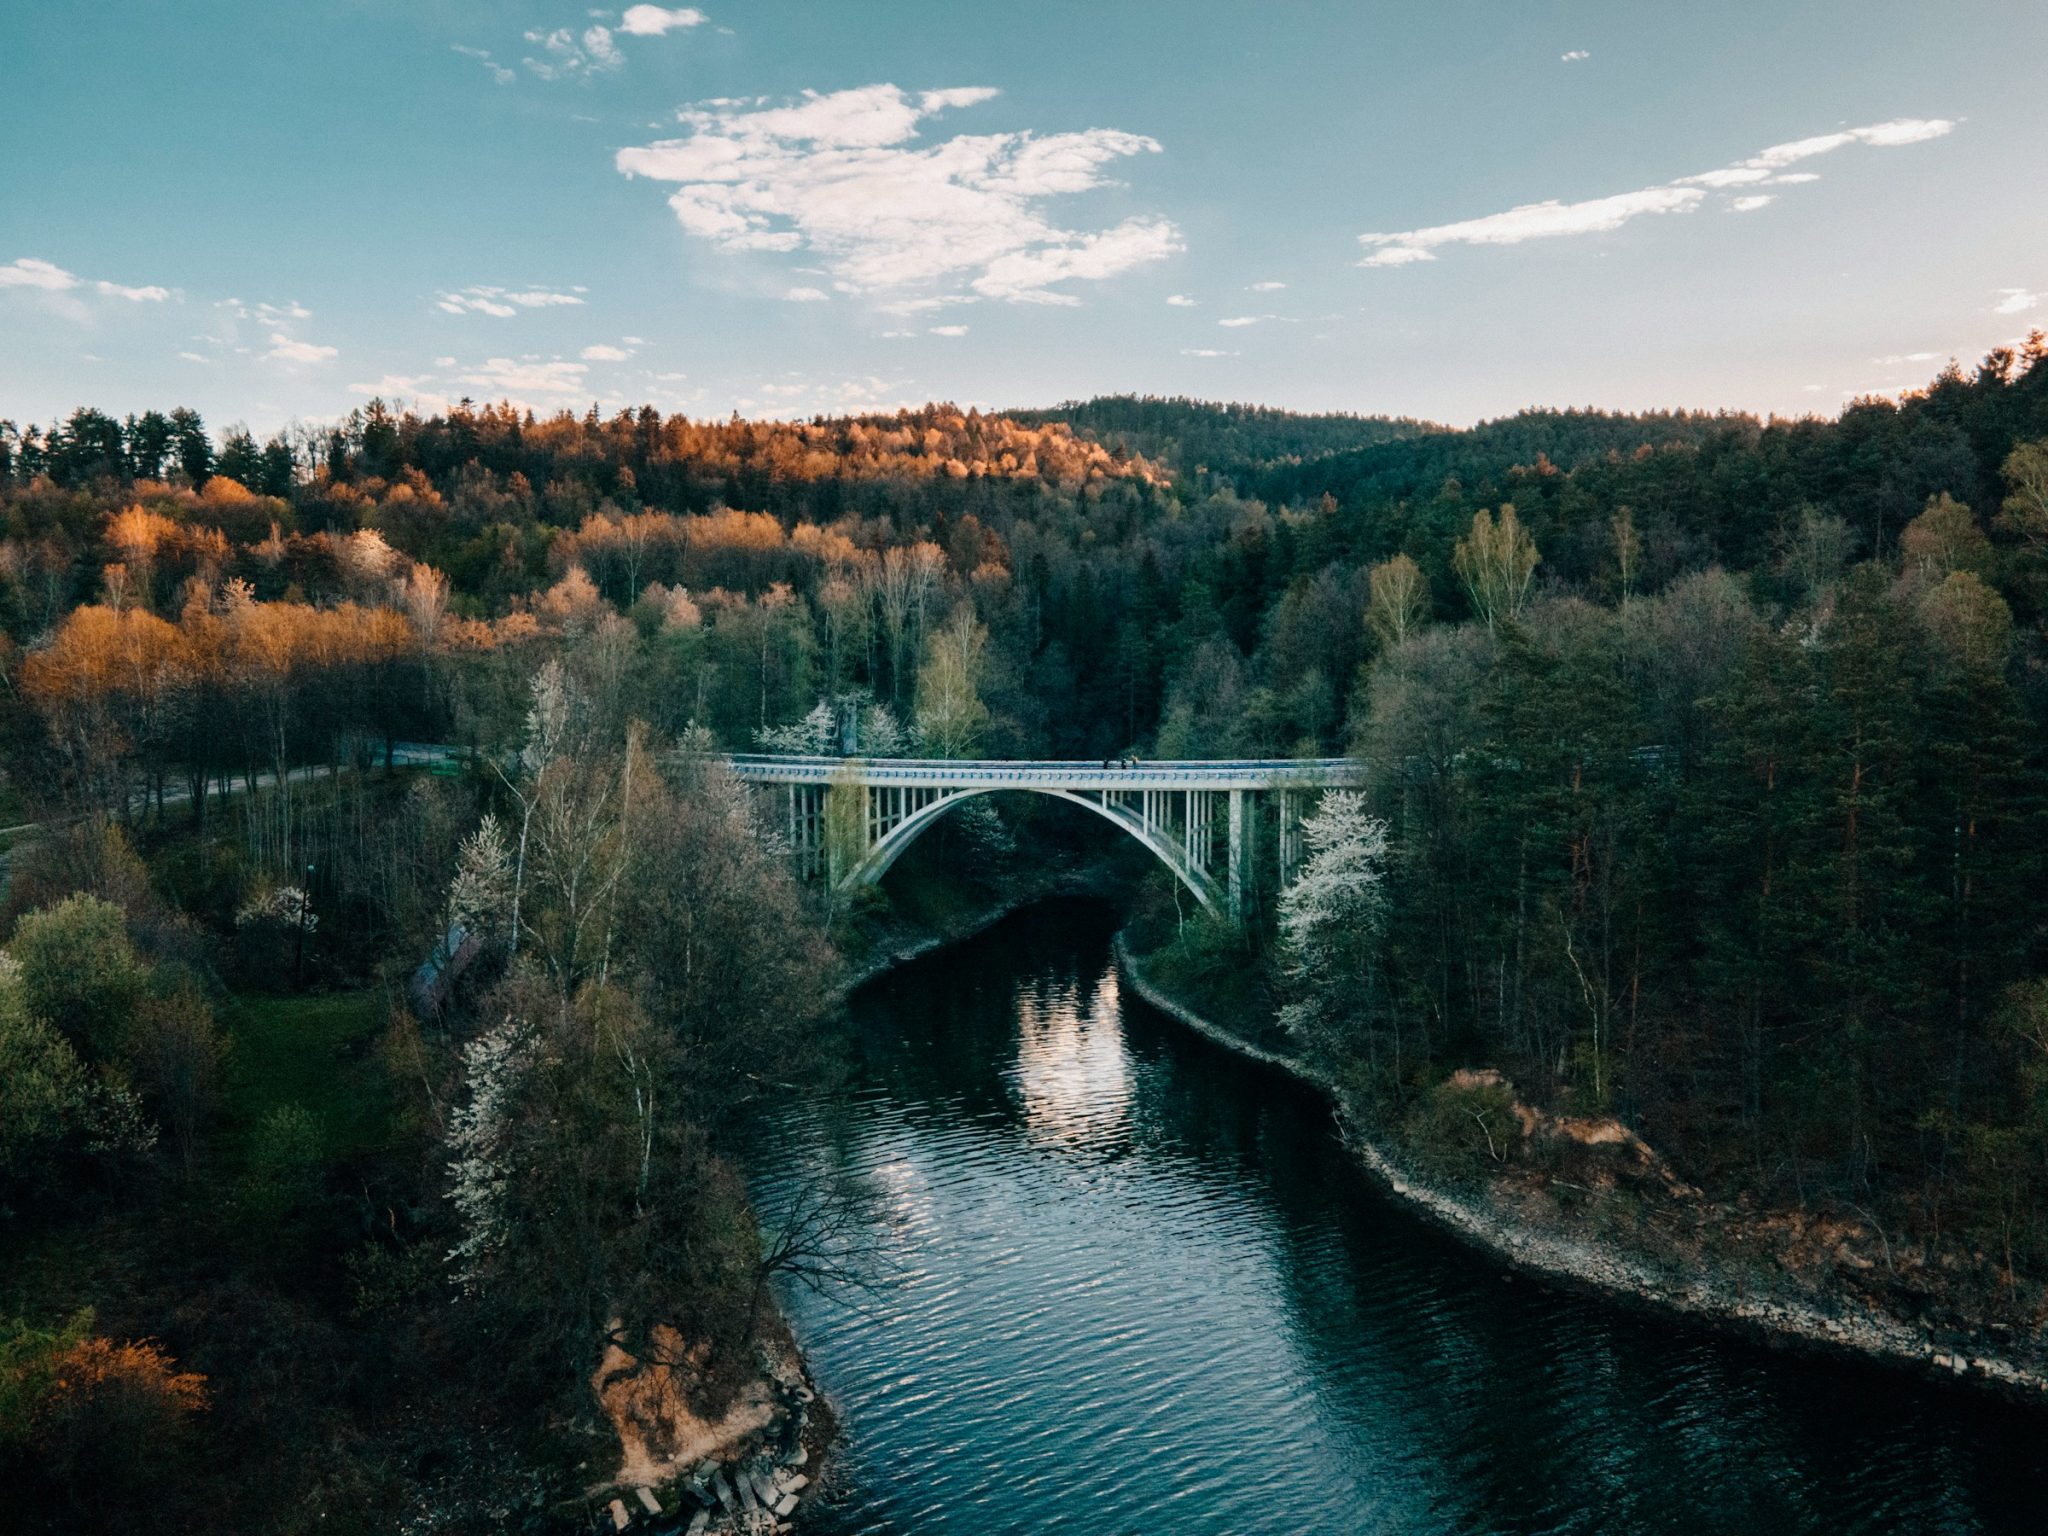
Aerial photography has long held a fascination for photographers, offering a breathtaking perspective on the world below. Before the advent of drones, capturing aerial shots required elaborate setups, from climbing towering mountains to braving helicopter rides high above the earth.

But now that drones have revolutionized the game, aerial photography is more accessible and more exhilarating than ever before. Now, all you need is a small drone and some practice flight hours to master the art of capturing stunning aerial imagery.
For professional aerial shots, photographers won’t even need to invest in an expensive drone of their own. With camera equipment rental London photographers can have access to a wide range of sophisticated photography tools and accessories that they might need for their projects.
You could be a seasoned pro or just dipping your toes into the world of drone photography; all the same, mastering the art of capturing great shots requires a combination of planning, technical skill, and creative vision. To that end, here are some tips and tricks to getting great aerial photos and videos using drones:
1) Plan Your Flight
Before taking to the skies, draw up a flight plan of sorts for the footage you’ll take. Meticulous planning is key to ensuring successful drone photography and videography sessions. You can maximise your time in the air and increase your chances of capturing stunning aerial shots simply by planning ahead.
Start by scouting locations and identifying points of interest using maps and satellite imagery. In addition, consider the weather forecast and any aerospace regulations that may apply to your chosen location. In some cases, for example, drones alert users of a no-fly zone area if they’re near an airport or military base.
2) Lower Your ISO
When it comes to camera settings, one of the most important factors to consider is ISO. This setting determines the sensitivity of your camera’s sensor to light, with higher ISO values resulting in brighter images, but also increased noise.
To achieve crisp and clear aerial shots, it’s advisable to keep your ISO as low as possible. After all, if you’re shooting in the daytime, you wouldn’t need a high ISO anyway. Lowering your ISO will allow you to minimise noise and maintain crisp image quality, especially in low-light conditions such as sunrise or sunset.
3) Consider Shooting Lower
Once you’ve mastered drone flight, try your hand at lowering your shot. While the top-view perspective often results in great shots, it can get old if you stick to just one angle. If you know how to lower the drone, you can capture a lot of more detail and appropriately render the beauty of the landscape below.
Experiment with different altitudes to find the perfect balance between perspective and detail. However, take care to avoid obstacles and maintain a safe flying environment at all times.
4) Try Different Angles
One of the greatest advantages of drone photography is its ability to catch unique angles and perspectives that are impossible to achieve from the ground. Don’t be afraid to experiment with different shooting angles, tilts, and compositions to create the most visually striking images. Whether you want to achieve a top-down view of a bustling cityscape or a sweeping panorama of a natural landscape, a different angle can lead to a truly remarkable shot.
5) Maximise the Sun
As with other photography genres, lighting plays a crucial role in drone photography and videography. To make the most of the natural light you’ll have, aim to shoot during the golden hours—shortly after sunrise or before sunset—when the light is soft, warm, and diffused. Avoid shooting during the harsh midday sun, which can create harsh shadows and overexposed highlights.
Maximising the sun also means timing your flights carefully. Be at the location before the golden hour to ensure you make the most of the sunlight and have enough leeway to shoot as much footage as you can.
6) Shoot in RAW Format
For maximum flexibility and control over your aerial images, consider shooting in RAW format rather than JPEG. RAW files contain uncompressed image data, which allows for greater latitude in post-processing and adjustment.
Moreover, with RAW files, you can fine-tune exposure, white balance, and other settings without sacrificing image quality. Invest time in learning basic post-processing techniques to enhance your RAW images and bring out their full potential.

7) Mind Your Shutter Speed
In addition to ISO and aperture, don’t forget to pay attention to your shutter speed when capturing aerial shots with a drone. Shutter speed controls the amount of time your camera’s sensor is exposed to light, which affects motion blur and image sharpness.
To freeze fast-moving subjects or maintain sharpness in windy conditions, opt for faster shutter speeds. Conversely, use slower shutter speeds to convey motion or create artistic effects such as long exposure shots of flowing water or moving clouds. Shoot with different shutter speeds to find the perfect balance between capturing sharp, detailed images and conveying a sense of motion and dynamism in your aerial photography and videography.
Drone photography and videography should unleash your desire to polish your technical skills as a photographer or a videographer and unlock your potential for creativity and experimentation at the same time. Through the tips and tricks mentioned above, hopefully you’ve learned something new about drone photography and how to get the perfect aerial shots!
- About the Author
- Latest Posts
Whether she is researching the latest trends in home decor, life-changing destination getaways, or the best way to maintain your finances, Dewey takes pride in leaving no stone unturned. She is passionate about distilling and delivering high-quality information that you can use to upgrade your life.

