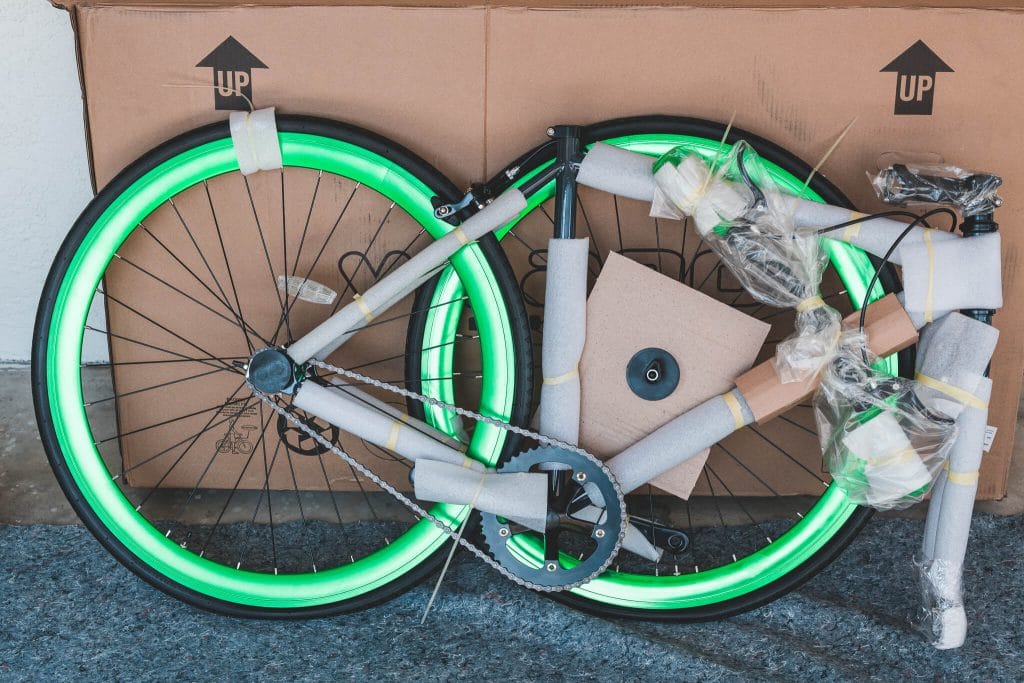
I decided to try buying a budget fixed gear road bike online. I bought a bike off of Amazon and documented the process for anyone else interested in exploring purchasing a fixed gear bike online.
I’ve had the same bicycle since I was 16. The hybrid mountain/road bike had suited my needs and careless riding style for a long time. As I grow older, I spend a lot less time jumping curbs, and randomly going down dirt hillsides. Most of my biking consists of pleasantly paved pathways meant for bicycles and commuting. Yes, I did that on purpose. The 3 P’s.
Anyways, I have a couple friends who are incredible athletes and cycling fanatics, from Tour de France coverage to Iron Mans and other pro races, whom are constantly ordering their parts online. Countless custom bikes, random parts ordering, and so many customizations and changes – almost always online. In my past bike experience, I’ve always gone to the neighborhood bike store to select a bike. This time, I wanted to try buying one online and assembling it. If my more experienced friends who play bicycles can order bike parts to assemble, then what is the experience like on the budget level, with no bike mechanic skills? Could anyone do it?
The Goals
- Bike should be under $200
- Bike should be very basic
- Some assembly required
The Questions
- How long does assembly take?
- Can I do it with basic tools?
- How nice is the bike?
- How does it hold up to the standards of my pro athlete friends?
- What happens if something goes wrong?
Vilano Fixed Gear Road Bike Review
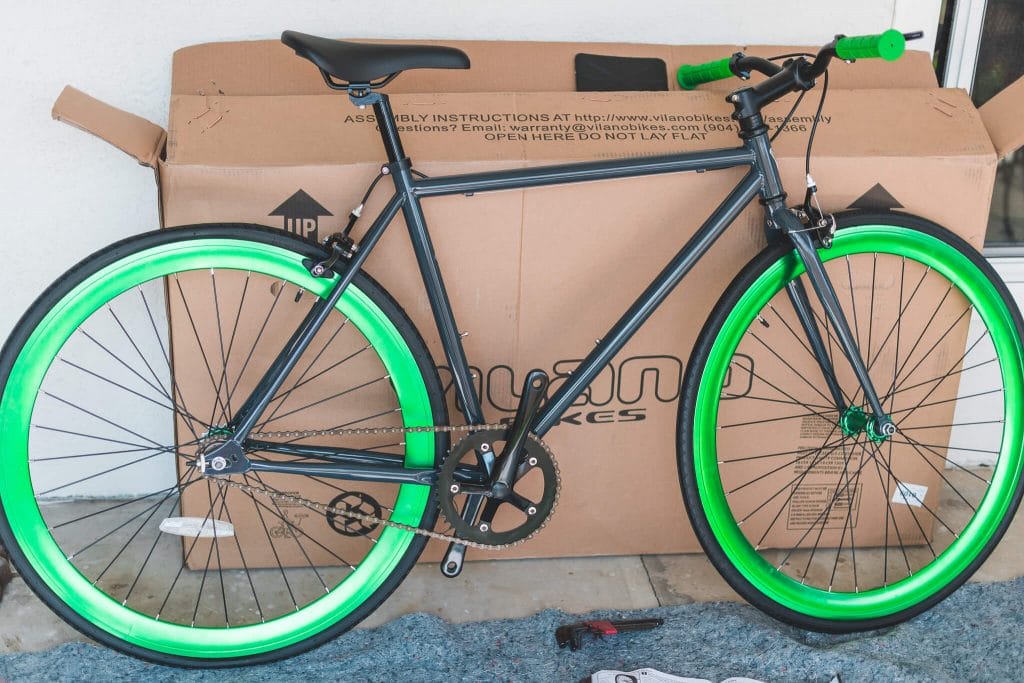
I ended up spending $185 on a Vilano Fixed Gear Road Bike – the Rampage. Vilano is an interesting company with all sorts of products beyond bicycles. Their bicycles themselves run the gamut on price, going upwards of $800 for the higher end selections. It looked like the quality remained the same, but price changes were reflected in additional features, such as gears, better brakes, etc. This bike I purchased was super basic. Once assembled, there are no adjustments. Well, except the seat.
Vilano does not know I did this or who I was when I ordered, so what you will read here is an authentic unplanned experience. The whole idea and process was very whimsical and spur of the moment.
Several days after placing the order, a large box appeared on the porch.
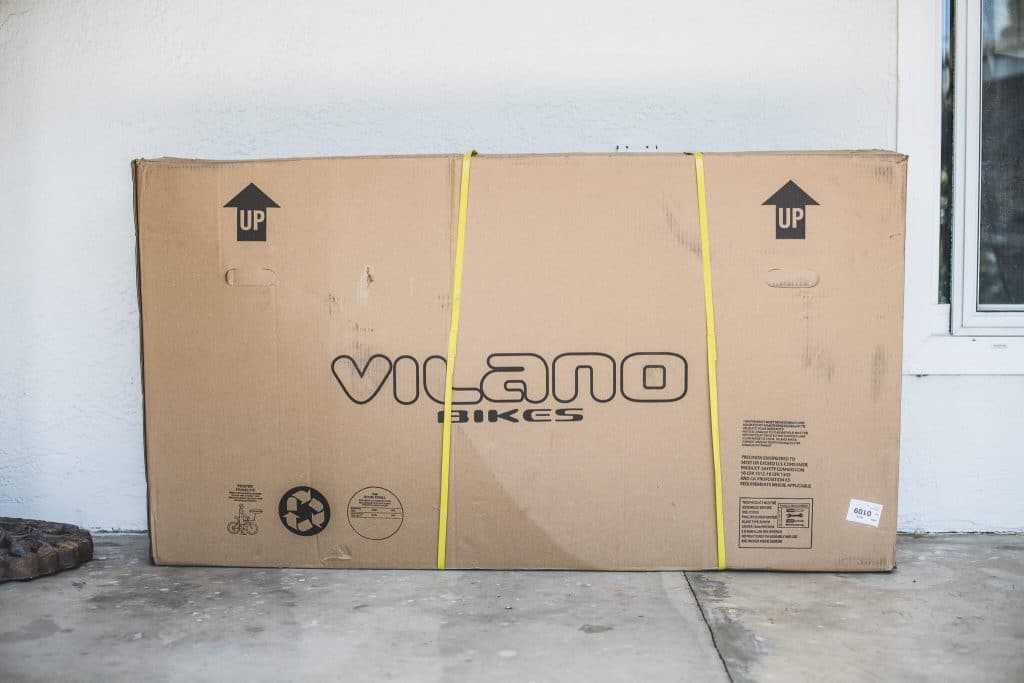
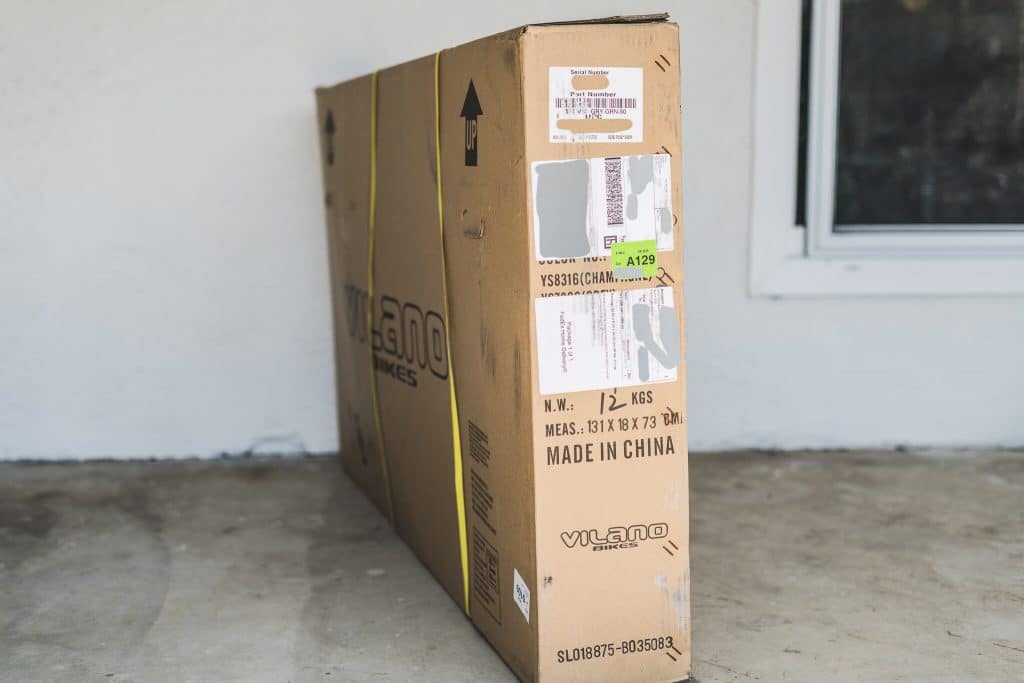
Examining the box, it was bulged out slightly in the middle. Feeling around, I felt a little concerned with the packing. Depending on how the shipping company handled the box, there seemed like a lot of potential for damage. I asked one of my athlete friends, @ironwillgates, about this. Apparently this is a common shipping method for many bikes. He said there is usually extra cardboard inside.
It was time to start assembling tools. I wasn’t sure if basic tools would be included or if I’d have to gather my own. Starting with the most simple of assembly tools, I grabbed a beer and a sharp blade. Say what you will, but one of these is essential for at-home bike assembly.
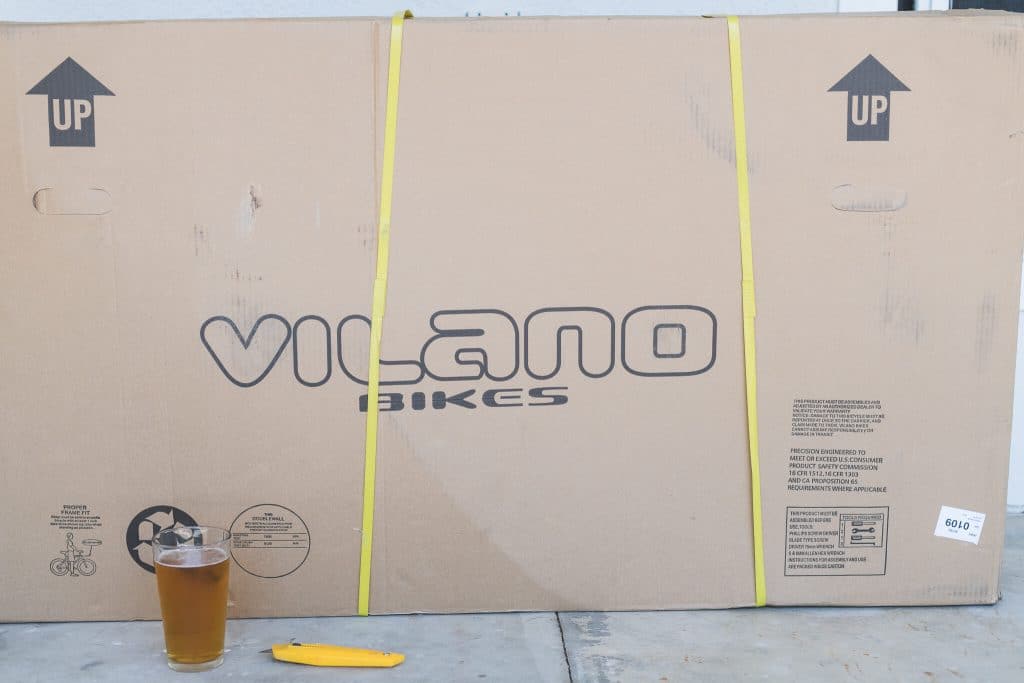
Eagerly, with just a slight amount of anxiety about the sides of the box, I cut the yellow plastic straps and pulled the stapled cardboard top apart. Peering inside, I spotted a bike! It smelled new.
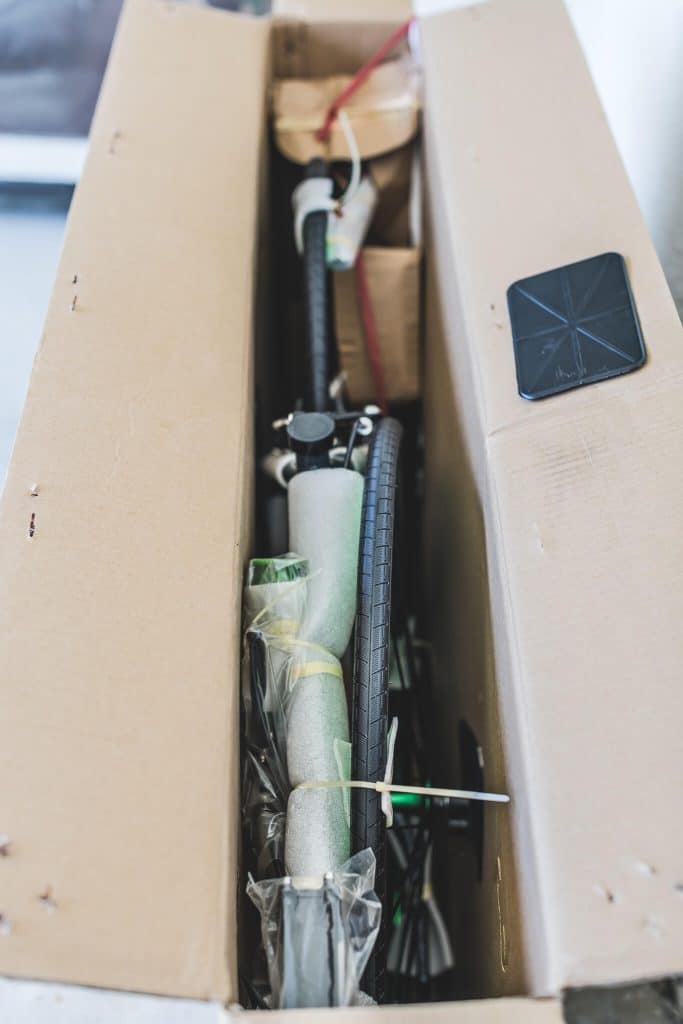
I inspected everything possible before removing the bike from the box. Everything looked like it shipped okay and the wrapping was sufficient.

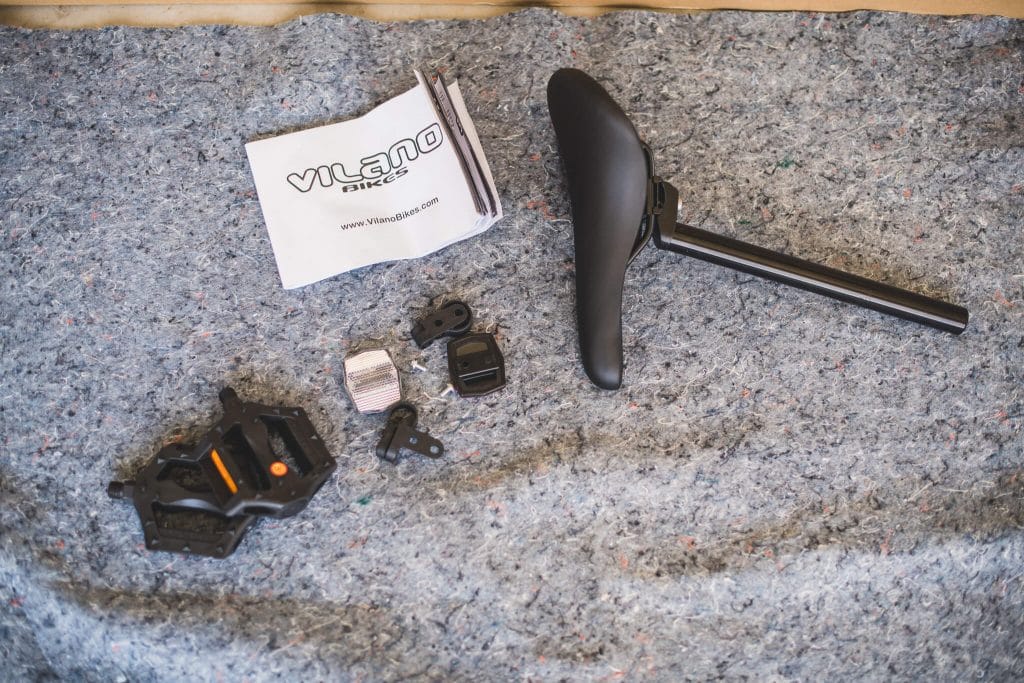
I spotted a box and seat, so I pulled them out. The seat was wrapped in a thin foam around the metal base, and the seat itself wrapped and taped with cardboard.
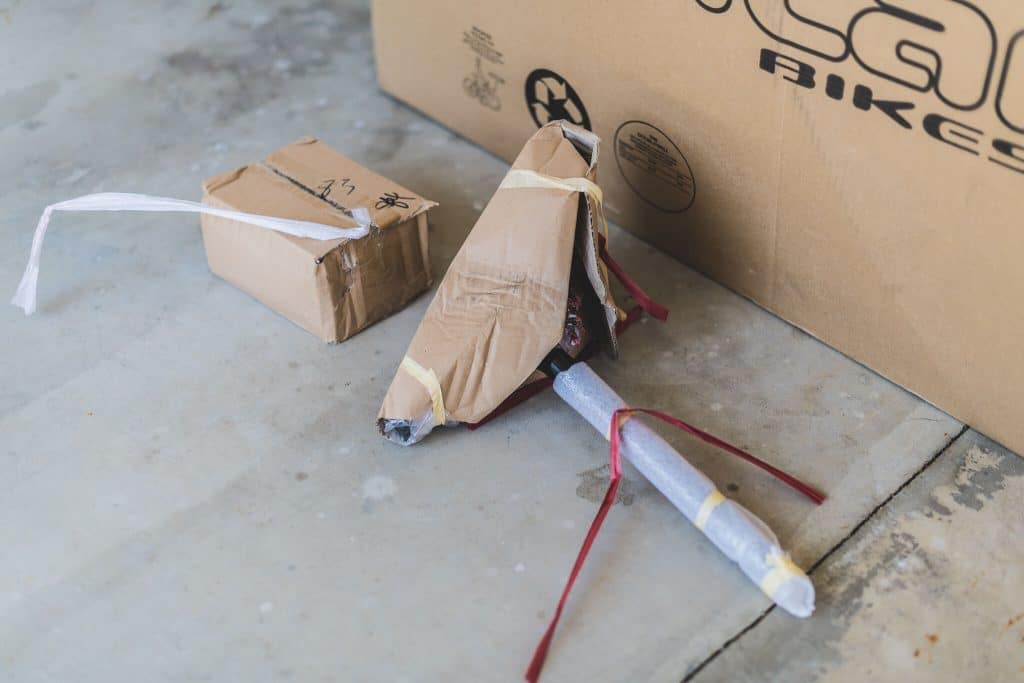
At this point I decided assembling the bike on concrete was a bad idea and a fast way to scratch up the metal, so I went and grabbed a moving blanket to lay down and open the box and unwrap the seat. Lo and behold, there were some pedals and reflectors for the front and rear.
With just a little bit of struggle in trying to keep the box from holding on to the bike, I pulled the frame out of the box to examine it. The rear wheel was already assembled. which was a relief as this would have been the hardest part to put together. It appeared that just about any part which would have rubbed on the shipping box was wrapped in the thin foam padding. The front wheel was detached with a piece of cardboard protecting the spokes from touching the frame.

This was as good a time as any to start reading the manual. Presented with a list of tools, I mozied on over to the garage to get everything required. Philips screw driver, 4mm, 5mm, 6mm, 8mm allen keys, adjustable wrench, and pliers with cutting ability.
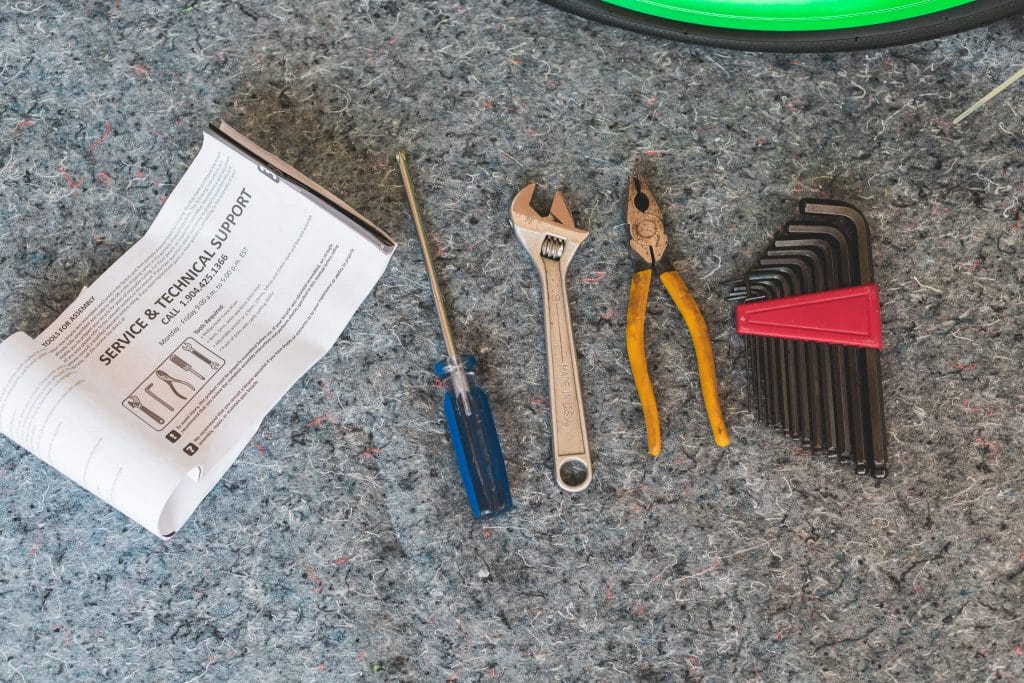
Tools in hand, or at least ready on the blanket, I grabbed the pliers with cutting ability and started snipping zip ties. In doing this, I’m not sure why pliers were called for and not scissors. Scissors would have been easier for some of the tighter zip ties as well as quickly removing the foam that was taped on. I stuck with pliers for the sake of writing this. You’re welcome.
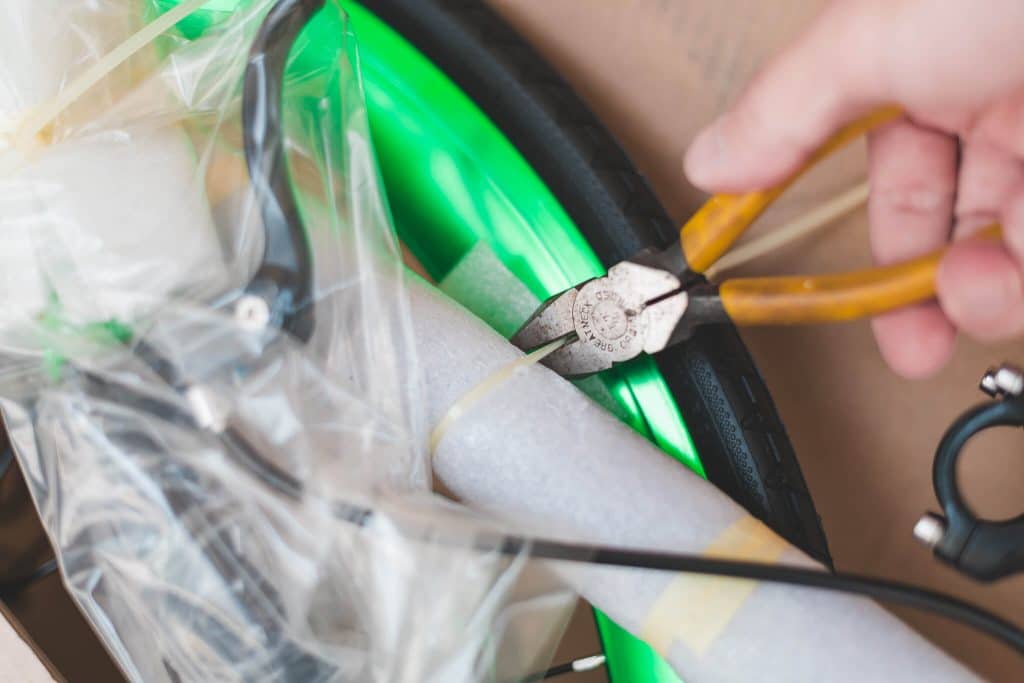
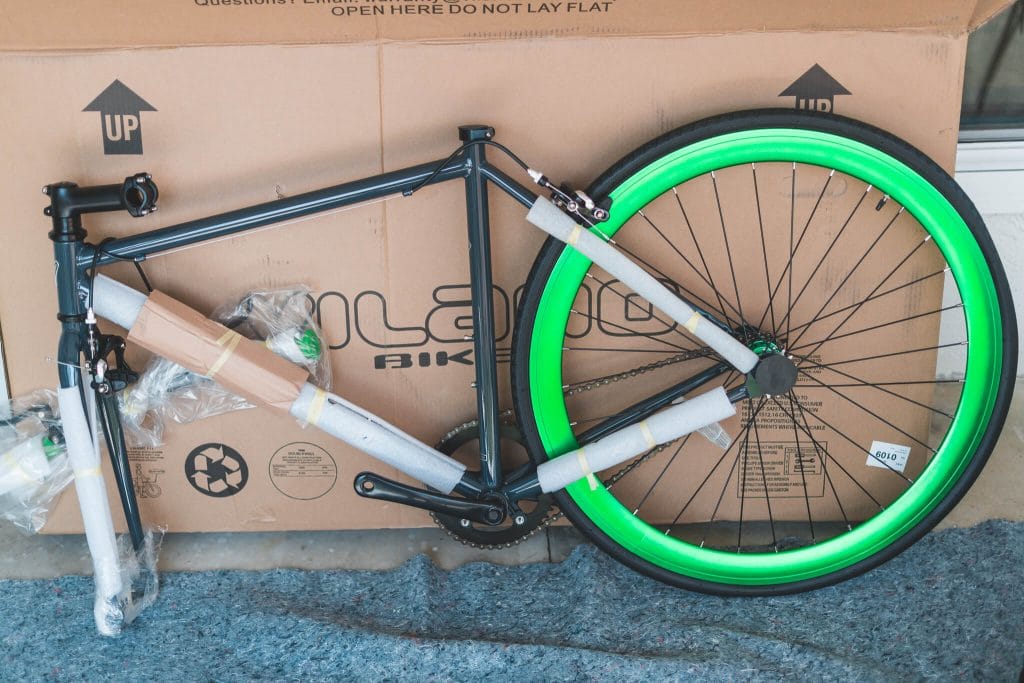
After removing half the packaging, I needed to flip the bike around to get to the other side. Just as I started to take progress photos, the dog decided it was time for his closeup. This is what the bike looks like halfway unwrapped. If yours doesn’t look like this, you’re missing a dog.

The front wheels had this cardboard padding and some strange plastic plugs. I wasn’t sure if they were part of the bike and they were a bit hard to remove, especially as I was worried about breaking something. Turns out it is just packaging and pull out nicely when gripped with pliers.
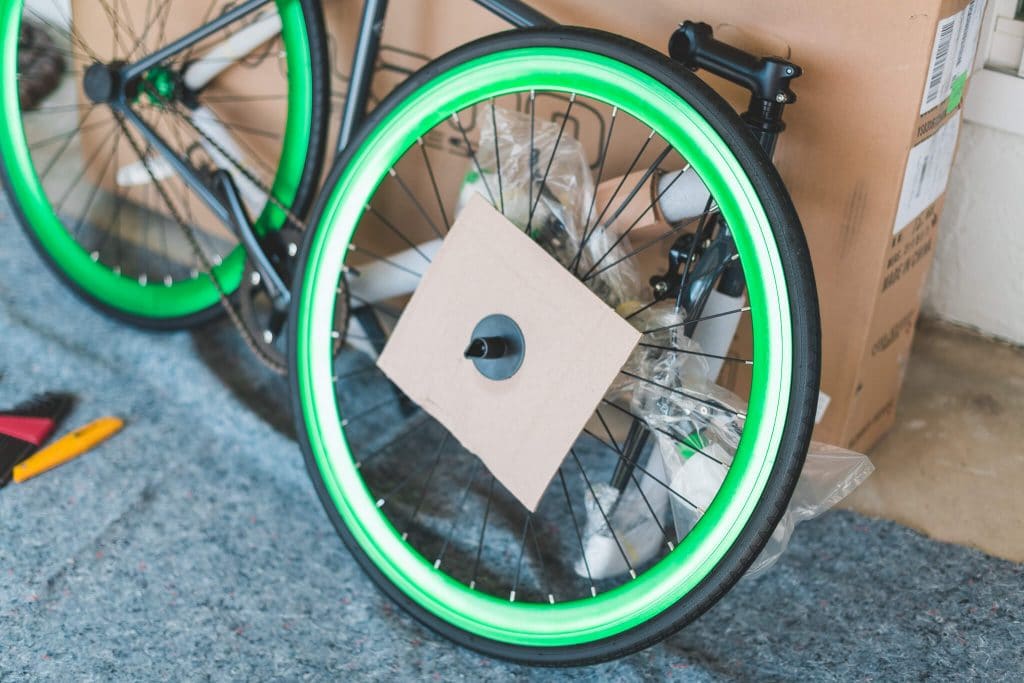
The handlebars were attached by the brake wires and needed to be assembled to the frame. The unwrapping of everything is very tedious, especially being careful not to scrape paint or snip a wire. So far everything was good.
Finally, it was time to actually use these tools for more than cutting and snipping. I grabbed an allen wrench and began unscrewing the 4 screws from where the handle bar would mount.
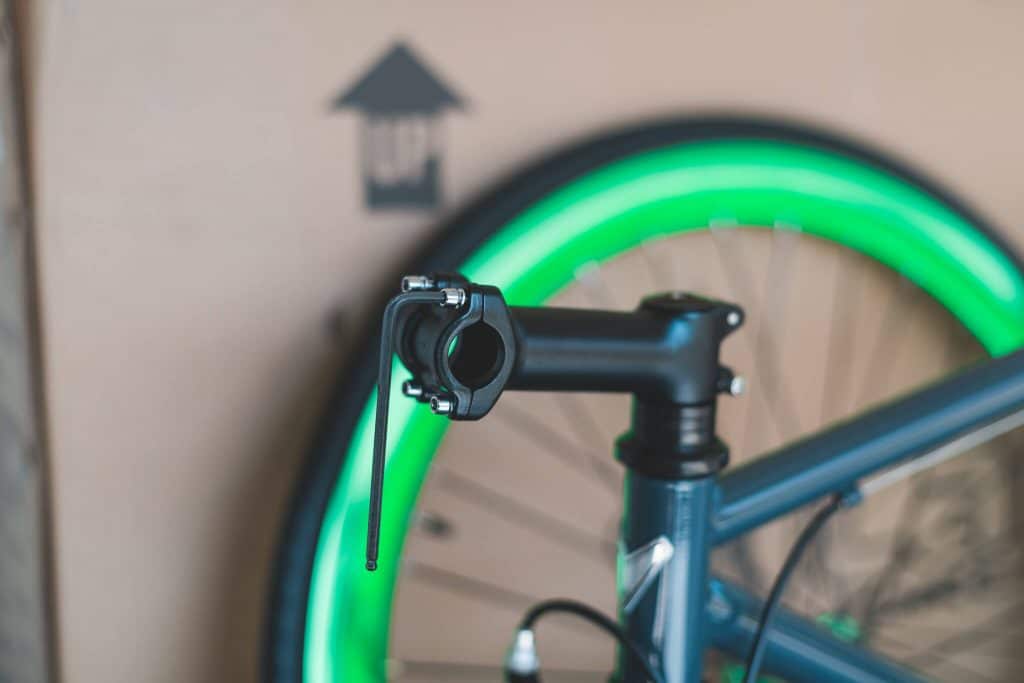
The handlebar had some lines to help guide the center of where they needed to be. This ended up saving from either measuring or guessing.
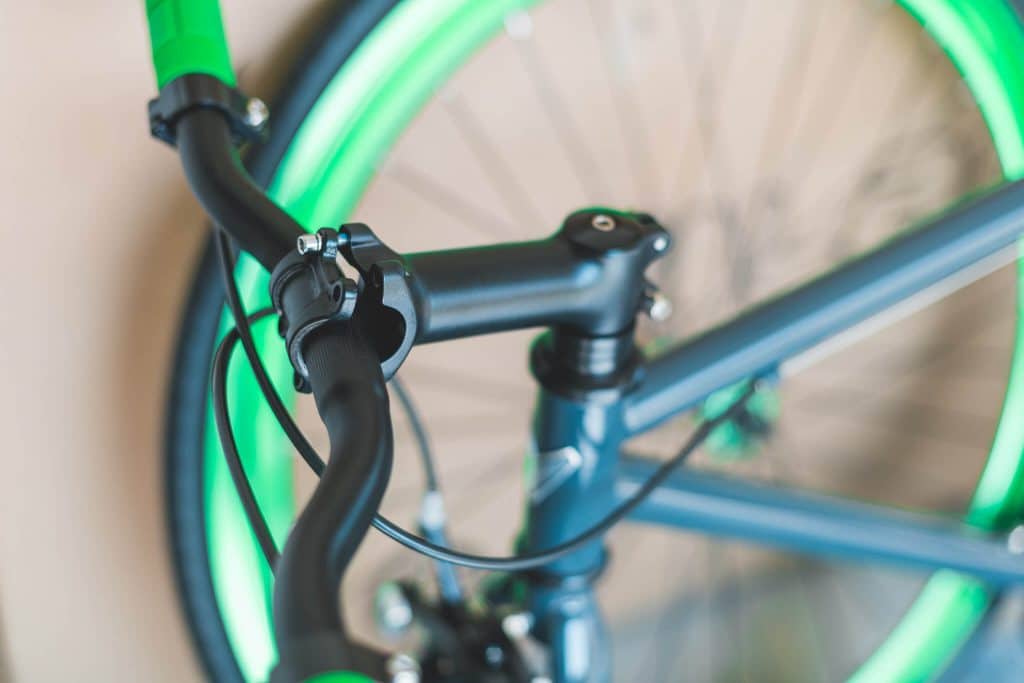
I quickly figured out to attach the handlebar evenly, it required turning each screw one thread rotation at a time. Over tightening one screw more than another caused uneven mounting.
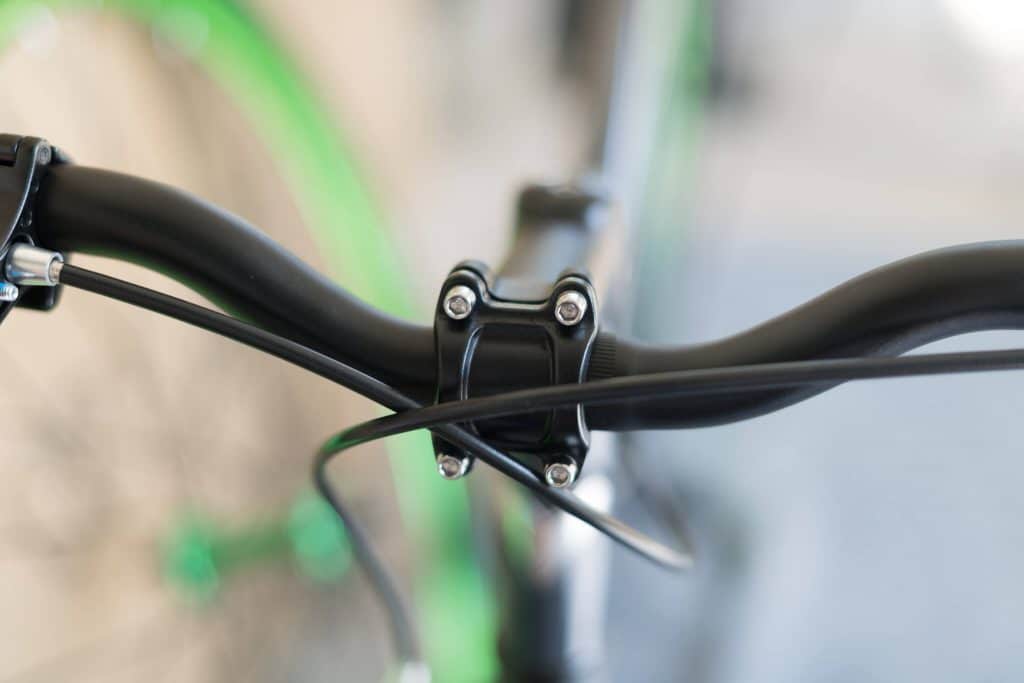
After being so careful to tighten the screws evenly, I realized I moved the handlebar off center. So, I redid it for a third time. Just kidding, I ended up doing it 4 times total before I was happy with the results.
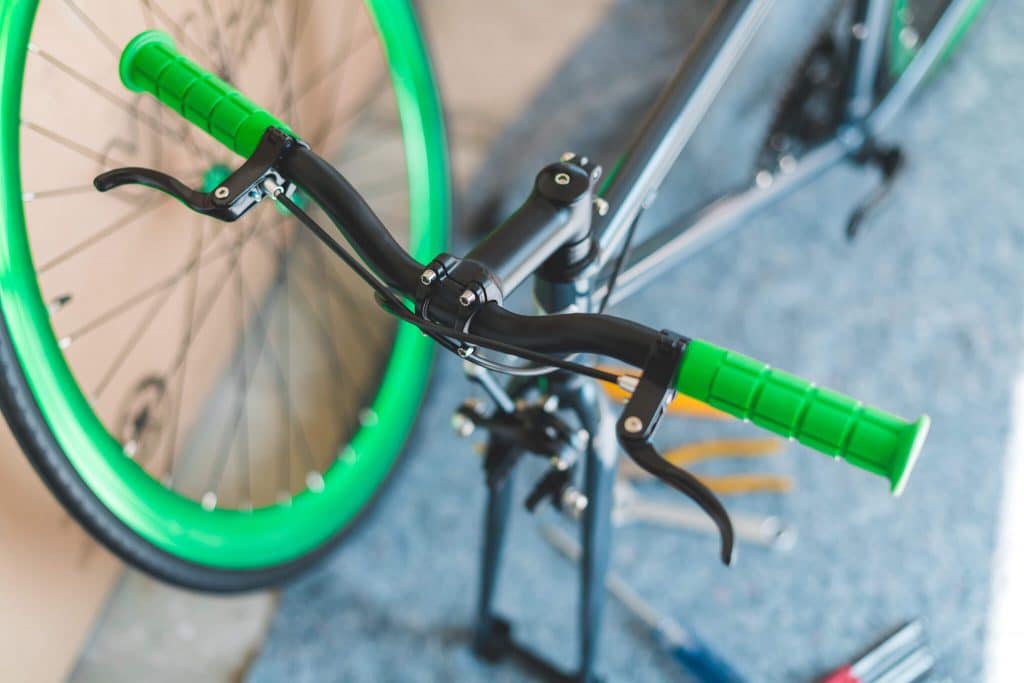
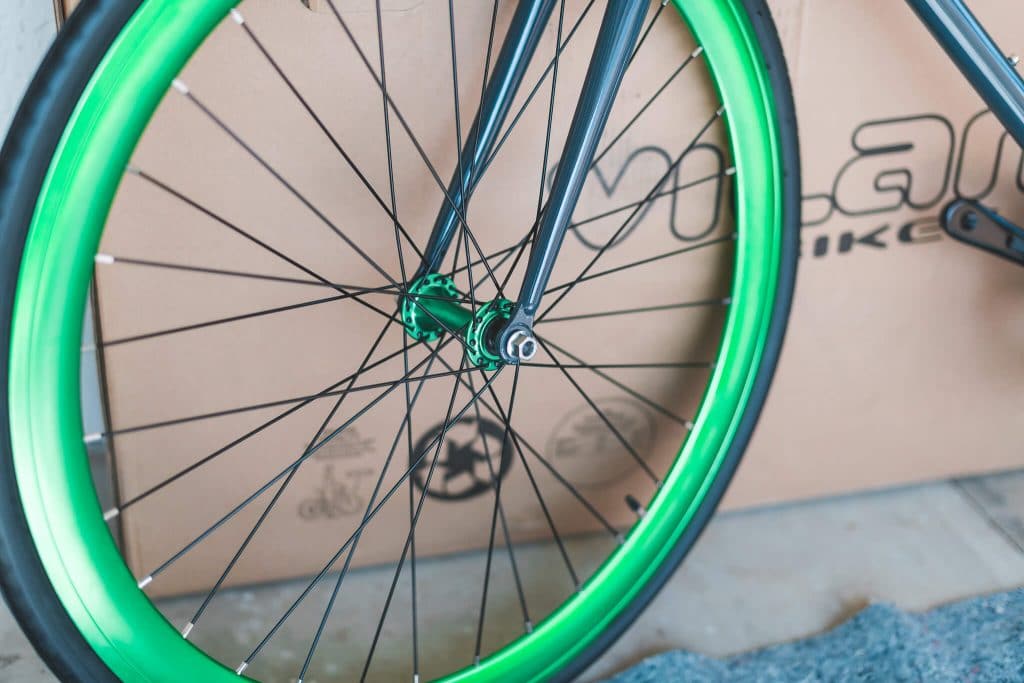
Onto the front wheel! It took both hands and some effort to get the fork on the wheel and make sure it was correct. The wheel has threads which the fork slides over. Tightening the nuts pushes the fork into place. The wheel turned smoothly, so I suppose it was installed correctly.
Time to install the seat. The frame had a plastic cap covering the seat hole – the pliers came in handy again to pull this out, much like the plastic caps on the front wheel.
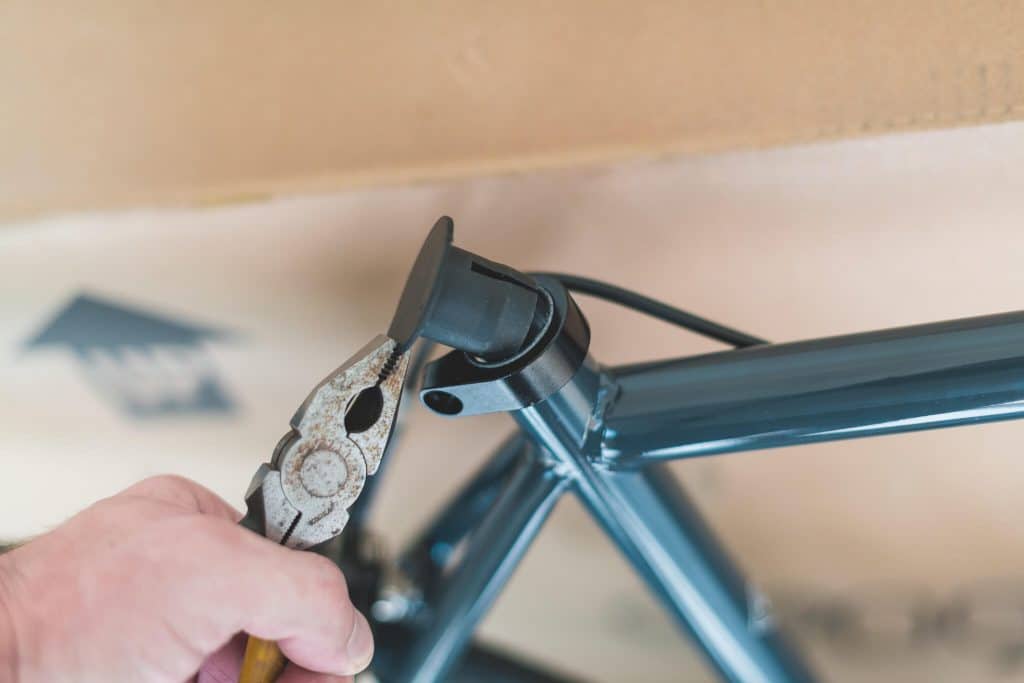
With the seat installed, tightened with another allen wrench and set to hip height, the bike was almost done. What am I missing… Oh yeah! Pedals!
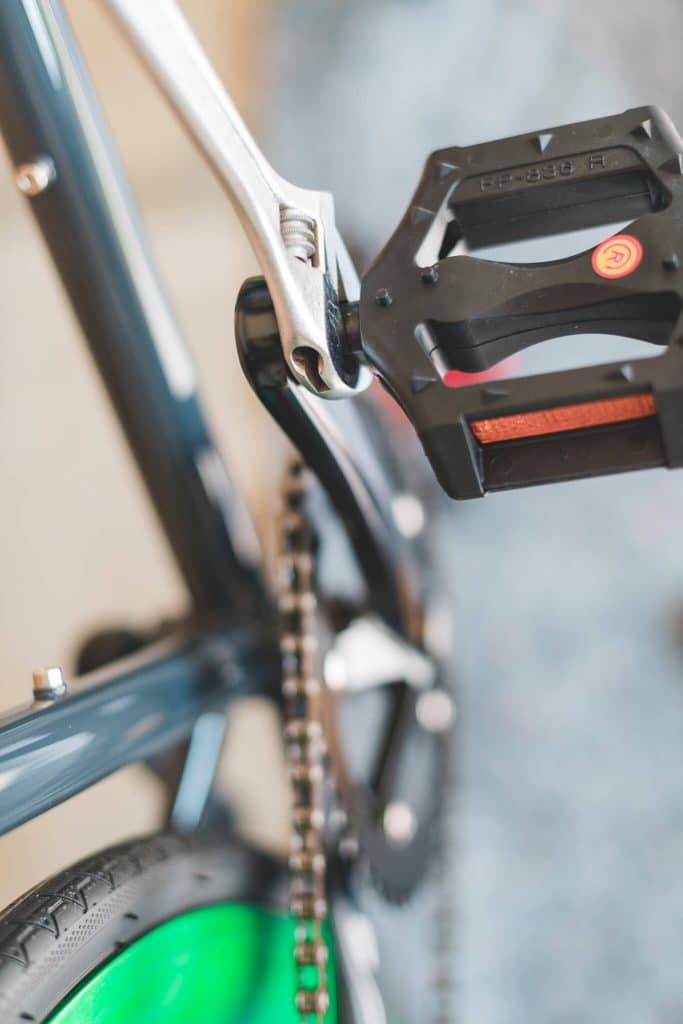
Each pedal was labelled left and right. They screwed on partially, then I used a wrench to finish tightening them all the way. The wrench I used was a little thick at the end and ended up scraping off a bit of the black from the metal the pedals attached to.
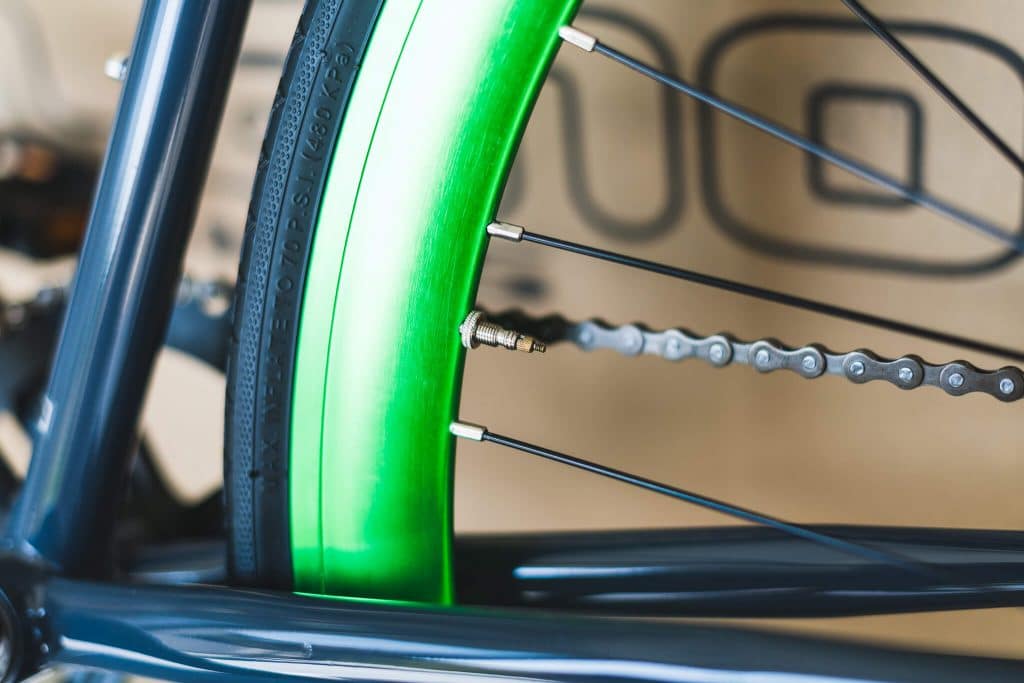
I was almost ready to ride when I realized the tires needed inflating. I didn’t have the right bike pump for a Presta valve.
I thought this would be a good time to call up one of my bike fanatic friends to come check out the bike and bring over his pump. I asked him to check over the bike and inspect it and provide feedback. For a sub $200 bike, he felt it was excellent quality. If handles, pedals, or seat were to be replaced in the future, it would be easy to switch them out with superior choices and use on future bikes. He did make a few adjustments on the brakes to optimize their positioning, as they were slightly off. Other than that, his professional inspection yielded no major problems.
It was at this point, after pumping up the tires, that I noticed one of the white reflectors was shattered in pieces at the bottom of the box. I touched the other one and it broke apart immediately.
It was recommended to get lights like these and attach them to the bike when needed. Rechargable and easy to take on and off, these bright LED lights would work far better than simple reflectors in maintaining visibility.
I sent a message to Vilano about the broken reflectors. I was less than impressed by their customer service reply. Essentially, they wanted me to complete all these steps before taking further action.
Completing this registration form will not only start your warranty coverage but it will also store important data in the unfortunate event that your bike is ever lost or stolen. Depending on the model of your bike, your bike’s serial number is either located on the bottom of the frame, in between the two crank arms or below the stem on the front of the bike.
Once you have submitted your warranty form, please reply to this message as we will not be notified when you are complete.
When you do reply, please attach a copy of the original invoice from your purchase to complete the warranty registration process.
In addition, please send along a couple of photos of what you are referring to so that we can gain a better visual understanding.
We also need the bike shop information where you had your factory direct bike assembled, tuned and safety checked prior to the first ride. This portion is necessary to ensure the parts needed are covered under warranty.
After your form has been submitted and we receive the copy of that invoice, we will be happy to review your information and photos with our techs. Once we have a chance to review this information, we will be happy to contact you with possible solutions.
If we are able to determine that the replacement parts you are requesting are covered under warranty and we have the components in stock, we would be happy to send those to you. Shipping for warrantied replacement parts is free in the Continental US. Please understand that the components must be covered under the Vilano warranty here:
As your bike needs some adjustments, please do not ride it until all parts have been installed and it has had a safety inspection by a professional.
Apparently for the warranty to be in effect for this bike, it needed to have been assembled, tuned, and safety checked prior to the first ride. Even if parts arrived broken. Buying a sub $200 bike and spending more than half that cost on a bike shop defeats the purpose of buying it online, or buying a budget bike online. I would have just gone to the local bike shop and bought from them and spent more money on a much nicer bike.
The manual which comes with the bike does not discuss this caveat at all. Their website also encourages customers to assemble their bikes themselves.
Speaking of the manual – it did an average job in explaining the installation process. The manual covered installation for several different models, so I had to be conscious of which set of instructions I was reading. It would have been nice to have the entire set separated by model, and not intermingled through the whole installation procedure.
Did this bike meet my goals? Absolutely.
- Bike should be under $200 – Check
- Bike should be very basic – Check
- Some assembly required – Check
How did the bike tackle my questions?
- How long does assembly take? – About 1 hour total, with most of that going to unwrapping and reading instructions.
- Can I do it with basic tools? Yes
- How nice is the bike? Frame felt decent, all other parts were cheap plastic. Tires don’t seem that great. Reflectors arrived broken.
- How does it hold up to the standards of my pro athlete friends? Multiple confirmations this was an excellent bike and choice for the price range.
- What happens if something goes wrong? Customer service is subpar. Have a better experience? Let me know in the comments below.
Overall, buying and installing the Vilano Fixed Gear Bike was a positive experience. In an hour, I went from unboxing to ready to ride. If I was depending on a bike warranty, I might go a different route.
- About the Author
- Latest Posts
I strive to paint vivid landscapes with my words, bringing the magic of far-off lands and enchanting aromas to life for my readers. Combine passion for exploration and the art of gastronomy in an unending ode to the senses. When I’m not traversing the globe, I find solace in the earth beneath my fingertips, tending to my garden and working on projects around my verdant oasis. MK Library serves as a beacon, guiding fellow travelers and homebodies alike to embrace sustainability, nurturing both our planet and our souls with purpose. Full Bio.

